

Pin count does not uniquely identify a toggle switch circuit. Two pins often indicate SPST, three often indicate SPDT, four may indicate DPST or a lamp circuit, and six often indicate DPDT, but exceptions are common. Use the exact contact diagram and isolated continuity testing to identify function before wiring. This guide explains a safe identification and verification process for engineers, panel builders, maintenance teams and buyers. It does not replace the current datasheet, machine risk assessment or locally applicable electrical requirements. The method keeps each decision traceable during purchasing, assembly, commissioning and later service.
Quick decision
Start with function, not pin count. Write the required stable and momentary states, identify every contact and lamp circuit, then match the documented rating to the actual load. Keep power isolated during identification. After installation, test both the electrical state and the machine response. If the application controls hazardous motion, use the required safety architecture rather than treating a general-purpose switch as a complete safety function.
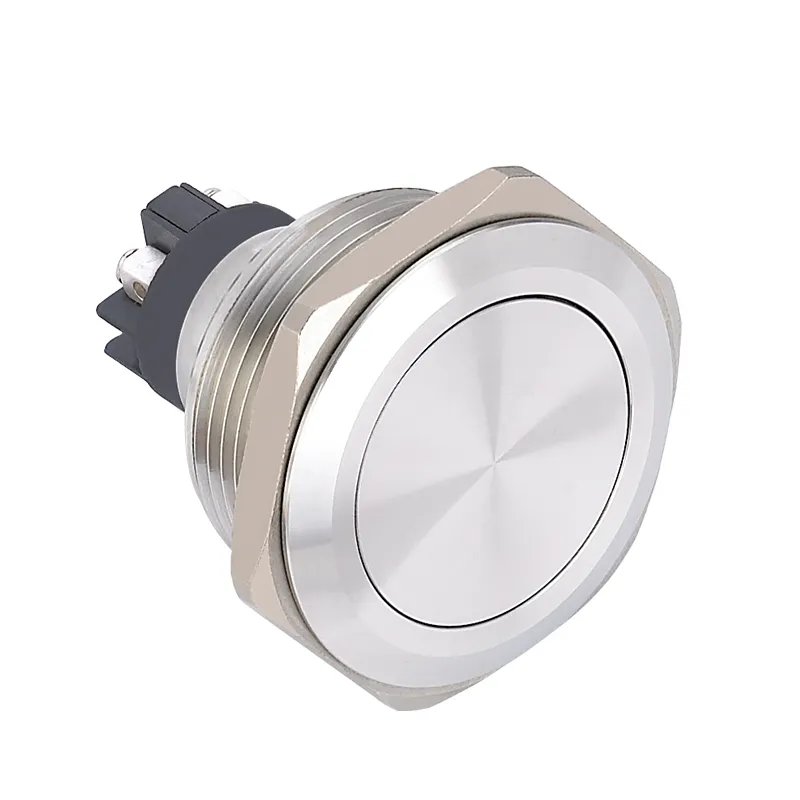
Selection and wiring criteria
| Decision | Wat te verifiëren | Technische reden |
|---|---|---|
| Two terminals | Often one simple pole and one throw | Confirm action because a two-terminal device may still be momentary or normally closed. |
| Three terminals | Often common plus two throws | Find the common by continuity in both lever states. |
| Four terminals | Could be two poles, a lamp, or a special internal connection | Do not assume a rectangular terminal pattern reveals the circuit. |
| Six terminals | Often two changeover poles | Pair each common with its two throws before considering cross-connections. |
| Extra terminals | May support illumination, grounding or an additional pole | Identify markings and documentation rather than guessing. |
| Physical orientation | Record a view direction on sketches | Rear view and front view can mirror the apparent layout. |
| Terminal numbering | Use manufacturer numbers in the wiring record | Local labels should preserve traceability to the drawing. |
| Continuity matrix | Measure every position with power isolated | A complete table is safer than a one-position spot check. |
This table is intentionally qualitative. Numerical ratings, torque, conductor size, insulation distance, endurance and environmental limits must come from the approved documents for the exact device and from the complete equipment design. Similar-looking switches can use different internal connections.
Understand the contact logic before wiring
Pole describes how many independent common contact paths operate together. Throw describes how many fixed contacts each common can select. These terms do not state the number of lever positions, whether a position is maintained or momentary, whether contacts overlap during transfer, or how an indicator lamp is connected. Those details require a position-by-position contact table.
Draw a matrix with terminals across the top and actuator positions down the side. Mark only connections supported by the current drawing or by isolated measurements. Include a clear viewing direction such as “rear terminal view with actuator up.” This simple record prevents mirrored diagrams, rotated components and harness cavity numbers from being confused during assembly or later service.
Two terminals
Wat te controleren: Often one simple pole and one throw. Confirm action because a two-terminal device may still be momentary or normally closed. The engineering record should name the exact order code, drawing revision, supply, load and operating state used for the decision. Check the component in its installed orientation because panel thickness, wire routing, adjacent hardware and actuator access can change the result.
How to verify it: Compare the current manufacturer contact diagram with an isolated continuity test. Record the measured state before operation, in every maintained position and after release from every momentary position. If documentation and measurement disagree, stop and resolve the mismatch before applying power. Never infer a terminal function from pin location, metal color or a diagram for a similar-looking switch.
Three terminals
Wat te controleren: Often common plus two throws. Find the common by continuity in both lever states. The engineering record should name the exact order code, drawing revision, supply, load and operating state used for the decision. Check the component in its installed orientation because panel thickness, wire routing, adjacent hardware and actuator access can change the result.
How to verify it: Compare the current manufacturer contact diagram with an isolated continuity test. Record the measured state before operation, in every maintained position and after release from every momentary position. If documentation and measurement disagree, stop and resolve the mismatch before applying power. Never infer a terminal function from pin location, metal color or a diagram for a similar-looking switch.
Four terminals
Wat te controleren: Could be two poles, a lamp, or a special internal connection. Do not assume a rectangular terminal pattern reveals the circuit. The engineering record should name the exact order code, drawing revision, supply, load and operating state used for the decision. Check the component in its installed orientation because panel thickness, wire routing, adjacent hardware and actuator access can change the result.
How to verify it: Compare the current manufacturer contact diagram with an isolated continuity test. Record the measured state before operation, in every maintained position and after release from every momentary position. If documentation and measurement disagree, stop and resolve the mismatch before applying power. Never infer a terminal function from pin location, metal color or a diagram for a similar-looking switch.
Six terminals
Wat te controleren: Often two changeover poles. Pair each common with its two throws before considering cross-connections. The engineering record should name the exact order code, drawing revision, supply, load and operating state used for the decision. Check the component in its installed orientation because panel thickness, wire routing, adjacent hardware and actuator access can change the result.
How to verify it: Compare the current manufacturer contact diagram with an isolated continuity test. Record the measured state before operation, in every maintained position and after release from every momentary position. If documentation and measurement disagree, stop and resolve the mismatch before applying power. Never infer a terminal function from pin location, metal color or a diagram for a similar-looking switch.
Extra terminals
Wat te controleren: May support illumination, grounding or an additional pole. Identify markings and documentation rather than guessing. The engineering record should name the exact order code, drawing revision, supply, load and operating state used for the decision. Check the component in its installed orientation because panel thickness, wire routing, adjacent hardware and actuator access can change the result.
How to verify it: Compare the current manufacturer contact diagram with an isolated continuity test. Record the measured state before operation, in every maintained position and after release from every momentary position. If documentation and measurement disagree, stop and resolve the mismatch before applying power. Never infer a terminal function from pin location, metal color or a diagram for a similar-looking switch.
Physical orientation
Wat te controleren: Record a view direction on sketches. Rear view and front view can mirror the apparent layout. The engineering record should name the exact order code, drawing revision, supply, load and operating state used for the decision. Check the component in its installed orientation because panel thickness, wire routing, adjacent hardware and actuator access can change the result.
How to verify it: Compare the current manufacturer contact diagram with an isolated continuity test. Record the measured state before operation, in every maintained position and after release from every momentary position. If documentation and measurement disagree, stop and resolve the mismatch before applying power. Never infer a terminal function from pin location, metal color or a diagram for a similar-looking switch.
Terminal numbering
Wat te controleren: Use manufacturer numbers in the wiring record. Local labels should preserve traceability to the drawing. The engineering record should name the exact order code, drawing revision, supply, load and operating state used for the decision. Check the component in its installed orientation because panel thickness, wire routing, adjacent hardware and actuator access can change the result.
How to verify it: Compare the current manufacturer contact diagram with an isolated continuity test. Record the measured state before operation, in every maintained position and after release from every momentary position. If documentation and measurement disagree, stop and resolve the mismatch before applying power. Never infer a terminal function from pin location, metal color or a diagram for a similar-looking switch.
Continuity matrix
Wat te controleren: Measure every position with power isolated. A complete table is safer than a one-position spot check. The engineering record should name the exact order code, drawing revision, supply, load and operating state used for the decision. Check the component in its installed orientation because panel thickness, wire routing, adjacent hardware and actuator access can change the result.
How to verify it: Compare the current manufacturer contact diagram with an isolated continuity test. Record the measured state before operation, in every maintained position and after release from every momentary position. If documentation and measurement disagree, stop and resolve the mismatch before applying power. Never infer a terminal function from pin location, metal color or a diagram for a similar-looking switch.
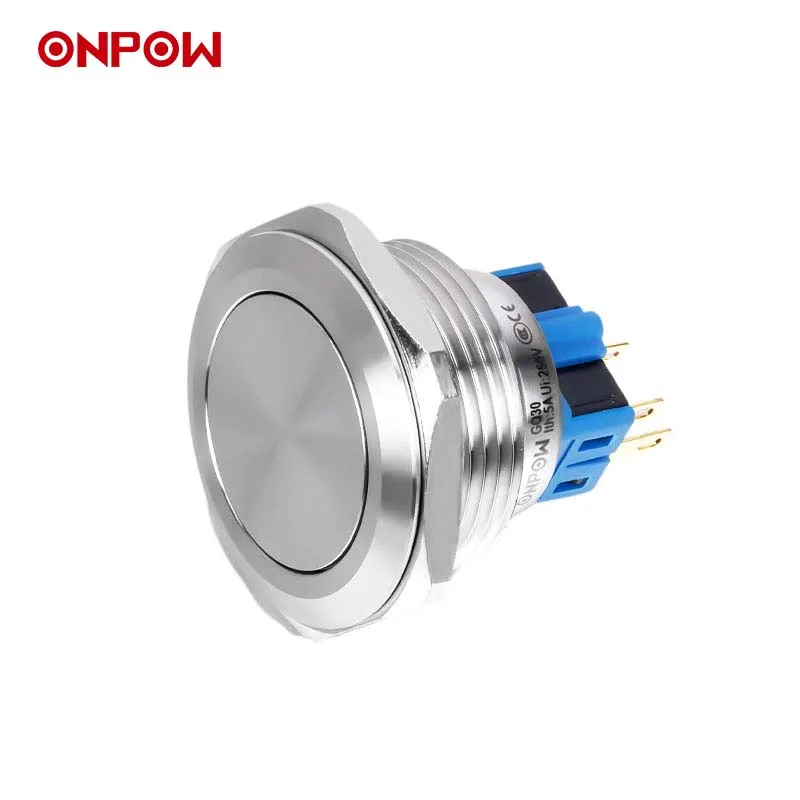
Safe identification and commissioning sequence
- Define the function. State what each actuator position should command, what happens on release and what the normal state must be after loss of power.
- Confirm identity. Photograph the marking and record the complete order code. Retrieve the matching current drawing rather than a family brochure.
- Isolate energy. Follow the site procedure for disconnecting and controlling hazardous energy. Prove the circuit is de-energized with appropriate equipment before touching conductors.
- Separate the component. Disconnect enough conductors to prevent parallel circuit paths from corrupting continuity measurements. Label every removed conductor.
- Map contacts. Test all terminal pairs in all positions. Repeat the sequence to detect intermittent behavior and note any spring-return action.
- Identify lamps separately. Use the published lamp diagram and voltage. Do not apply an unknown test voltage to an LED or electronic module.
- Review the load. Check normal current, inrush, AC or DC, inductive energy, switching frequency, protection and the consequence of a contact failing open or closed.
- Install mechanically. Confirm cutout, panel thickness, anti-rotation, fasteners, sealing, rear clearance, conductor support and accessible labels.
- Perform an unpowered check. Verify point-to-point wiring and insulation before energizing. Make sure unused terminals cannot contact adjacent conductive parts.
- Commission under control. Energize according to the equipment procedure, test each command and indication, then test loss and restoration of power and the credible faults identified by the risk assessment.
Load and protection boundaries
Contact ratings are conditional. A resistive laboratory load does not represent every motor, solenoid, lamp, heater, electronic power supply or capacitive input. DC interruption can sustain an arc differently from AC. Inductive loads release stored energy when opened, and cold lamps or capacitors may draw high inrush. Obtain the load data and apply only a rating that explicitly covers the intended conditions.
The switch is also not the branch-circuit protective device. Conductor size, fuse or breaker selection, short-circuit capability, grounding, insulation and enclosure protection belong to the wider equipment design. Where the operator should carry only a low-energy command, use a properly selected relay, contactor or controller input and verify the interface. Suppression components must suit the supply, load and failure behavior.
Common mistakes
- Two terminals: Confirm action because a two-terminal device may still be momentary or normally closed. Prevent this by completing the related verification step—often one simple pole and one throw—and retaining the evidence with the machine documentation.
- Three terminals: Find the common by continuity in both lever states. Prevent this by completing the related verification step—often common plus two throws—and retaining the evidence with the machine documentation.
- Four terminals: Do not assume a rectangular terminal pattern reveals the circuit. Prevent this by completing the related verification step—could be two poles, a lamp, or a special internal connection—and retaining the evidence with the machine documentation.
- Six terminals: Pair each common with its two throws before considering cross-connections. Prevent this by completing the related verification step—often two changeover poles—and retaining the evidence with the machine documentation.
- Extra terminals: Identify markings and documentation rather than guessing. Prevent this by completing the related verification step—may support illumination, grounding or an additional pole—and retaining the evidence with the machine documentation.
- Physical orientation: Rear view and front view can mirror the apparent layout. Prevent this by completing the related verification step—record a view direction on sketches—and retaining the evidence with the machine documentation.
What to include in an RFQ
Provide the contact form, actuator positions, maintained or momentary action, center state, lamp function and voltage, supply, load category, normal and inrush current, switching frequency, panel cutout, panel thickness, rear-space limit, terminal preference, environment, ingress requirement, temperature range, vibration, required documentation, quantity and target market. Ask the supplier to return the exact contact table and dimensional drawing for the proposed order code.
Use the ONPOW industrial control product range to identify candidate families. Final selection must be based on the exact model documentation and validation in the completed assembly. For an unusual harness or control sequence, provide a terminal-view sketch and ask the supplier to mark any assumptions before samples are ordered.
Related ONPOW guides
- Toggle switch position basics
- Toggle switch and push button comparison
- Normally open and normally closed contacts
Authoritative references
- IEC 60947-5-1 control-circuit devices
- IEC 60204-1 electrical equipment of machines
- OSHA electrical safety requirements
Educational video
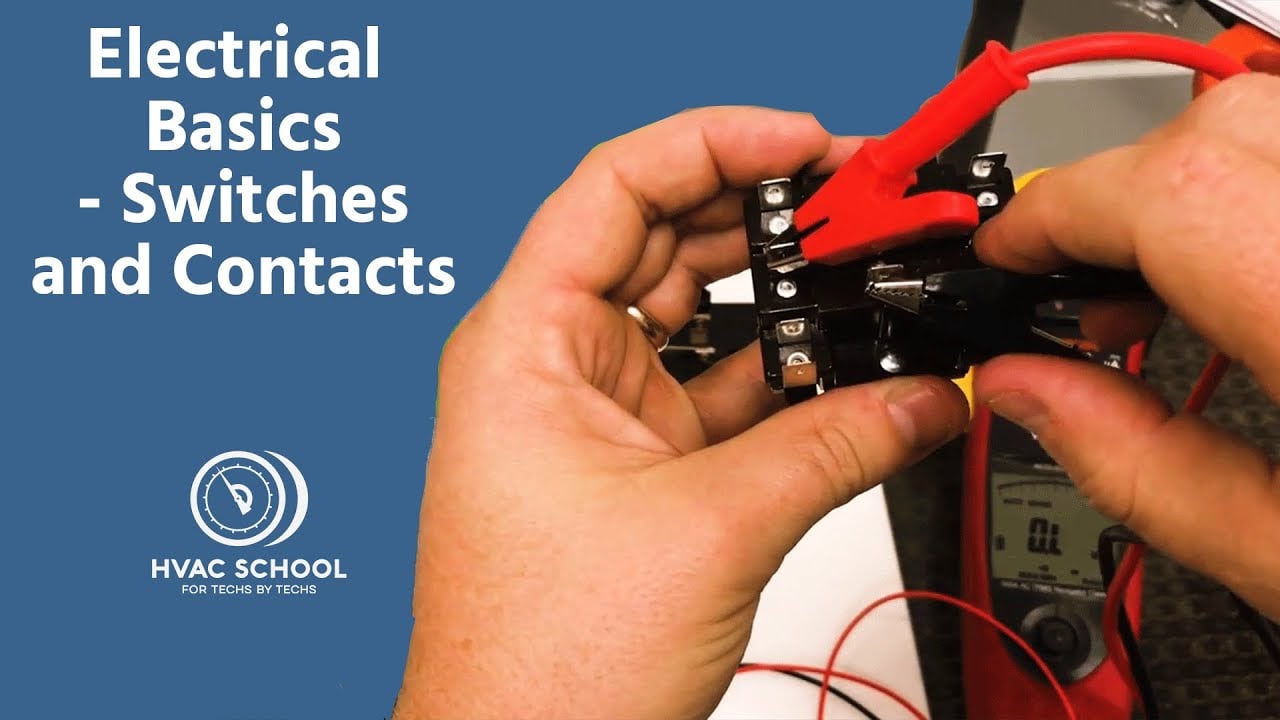
Electrical Basics – Switches and Contacts by HVAC School provides general background. The exact switch and equipment still require their own documentation and validation.
Frequently asked questions
Kan de positie van de aansluitklemmen worden geïdentificeerd aan de hand van een foto van deze tuimelschakelaar?
Nee. Een foto kan de verpakking en het aantal aansluitingen tonen, maar kan niet betrouwbaar de interne contactopstelling, de kijkrichting, het lampcircuit of de nominale waarde vaststellen. Gebruik de exacte modeltekening en een geïsoleerde test.
Geldt de gedrukte ampèrer waarde voor elke belasting?
Nee. De toegestane waarde is afhankelijk van de spanning, wisselspanning (AC) of gelijkspanning (DC), belastingscategorie, inschakelstroom, schakelfrequentie, temperatuur en de testomstandigheden van de fabrikant. Kies uit de nominale waarde die is opgegeven voor de daadwerkelijke toepassing.
Kan een doorgangstester worden gebruikt om contacten te identificeren?
Ja, wanneer alle bronnen zijn geïsoleerd en opgeslagen energie is ontladen. Test elke positie, besef dat lampcircuits weerstandsmetingen kunnen produceren en vergelijk de matrix met de documentatie van de fabrikant.
Moet de schakelaar direct een motor- of solenoïdestroom voeren?
Alleen wanneer de exacte belasting en inschakelduur binnen de gedocumenteerde specificatie vallen. Voor een hogere inschakelstroom, frequent gebruik of risicogevoelige machines is een passend geselecteerd relais of een contactor vaak de betere interface.
Welke informatie hoort thuis in het uiteindelijke bedradingsschema?
Noteer de bestelcode, de kijkrichting van de klemmen, de contactmatrix, de geleideridentificaties, de beveiliging, de voeding, de belasting, de labels, de testresultaten, de documentrevisies en de goedkeuringsdatum.
Final verification rule
Approve the installation only when the exact device identity, contact matrix, lamp behavior, mechanical fit, environmental boundary, load rating, protective measures, labels and test results all agree. Resolve every discrepancy before energizing production equipment. Keep the final record with the machine so a later replacement is checked against evidence rather than appearance.



