

A 120V AC indicator light is suitable only when its exact lamp version is rated for the supply and the way the circuit will use it. Before ordering, verify nominal voltage, AC/DC type, rated current, permitted voltage range, frequency, terminals, panel cutout and operating temperature against the manufacturer’s document for the chosen part number. A label that says “110V,” “120V” or “AC/DC” on a similar-looking lamp is not enough to identify the rating of another model.
For example, ONPOW’s GQ16G-D/L/S metal signal lamp page lists AC/DC voltage versions at 6V, 12V, 24V, 110V and 220V. It does not name a separate 120V ordering version. Treat a 120V panel supply as a compatibility question for the exact selected part, and request confirmation from the supplier if the published drawing does not explicitly cover the installed circuit. The broader metal signal lamp range and indicator-light selection guide can help narrow the physical style and application, but the part-specific drawing remains decisive.
Check what “120V AC” means in the installation
The system label, transformer secondary, measured line voltage and lamp marking are different pieces of information. A panel designed around a nominal 120V AC source still needs an indicator whose documented operating range includes the circuit conditions. Do not decide that a 110V or 120V lamp is interchangeable just because the numbers are close. Nor should you infer compatibility from the bezel, lens color, wiring terminal or another model’s datasheet.
Confirm whether the lamp is an AC version, a DC version, or an AC/DC version. Check the nominal rating printed in the model documentation, frequency if specified, current, and any voltage tolerance. If the datasheet lists a tolerance, apply only the tolerance for that exact model and supply type. If it does not, ask the supplier to identify a suitable version rather than adding a resistor or changing the circuit experimentally.
Read the exact model specification
An indicator lamp is a small component, but different head sizes and rear terminal arrangements can have different voltage options. The ONPOW GQ16G-D/L/S page, for example, identifies a 16mm installation diameter, a domed head, five available lens colors, AC/DC voltage options, screw terminals and a stated operating-temperature range. These are details for that product page, not specifications for all GQ signal lamps.
| Item to verify | Published GQ16G-D/L/S example | What to confirm for a 120V AC panel |
|---|---|---|
| Nominal lamp voltage | AC/DC versions listed at 6V, 12V, 24V, 110V and 220V | Does the specific 110V option’s written tolerance include the actual supply, or is another approved version required? |
| Rated current | The page gives approximately 2mA for its 110–220V versions | Confirm the exact lamp version and total circuit load, not just the LED current from a different model |
| Lamp technology / circuit | AC/DC LED lamp is listed | Verify whether the selected version has the required internal current limiting and how its terminals are to be connected |
| Mechanical fit | 16mm installation diameter; screw terminals | Check the panel cutout, panel thickness, clearance behind the panel and terminal access |
| Environmental range | Operating temperature is listed as −25°C to +55°C | Check actual enclosure temperature and contaminants against the exact model document |
| Front protection | Front panel protection is listed as IP67 and IK06 | Confirm what the stated protection covers after installation; do not assume the rear terminal side has the same rating |
The values above are transcribed from the GQ16G-D/L/S product page. Verify the current revision and selected option before releasing a bill of materials. This table is not an authorization to use a 110V lamp on every 120V source.
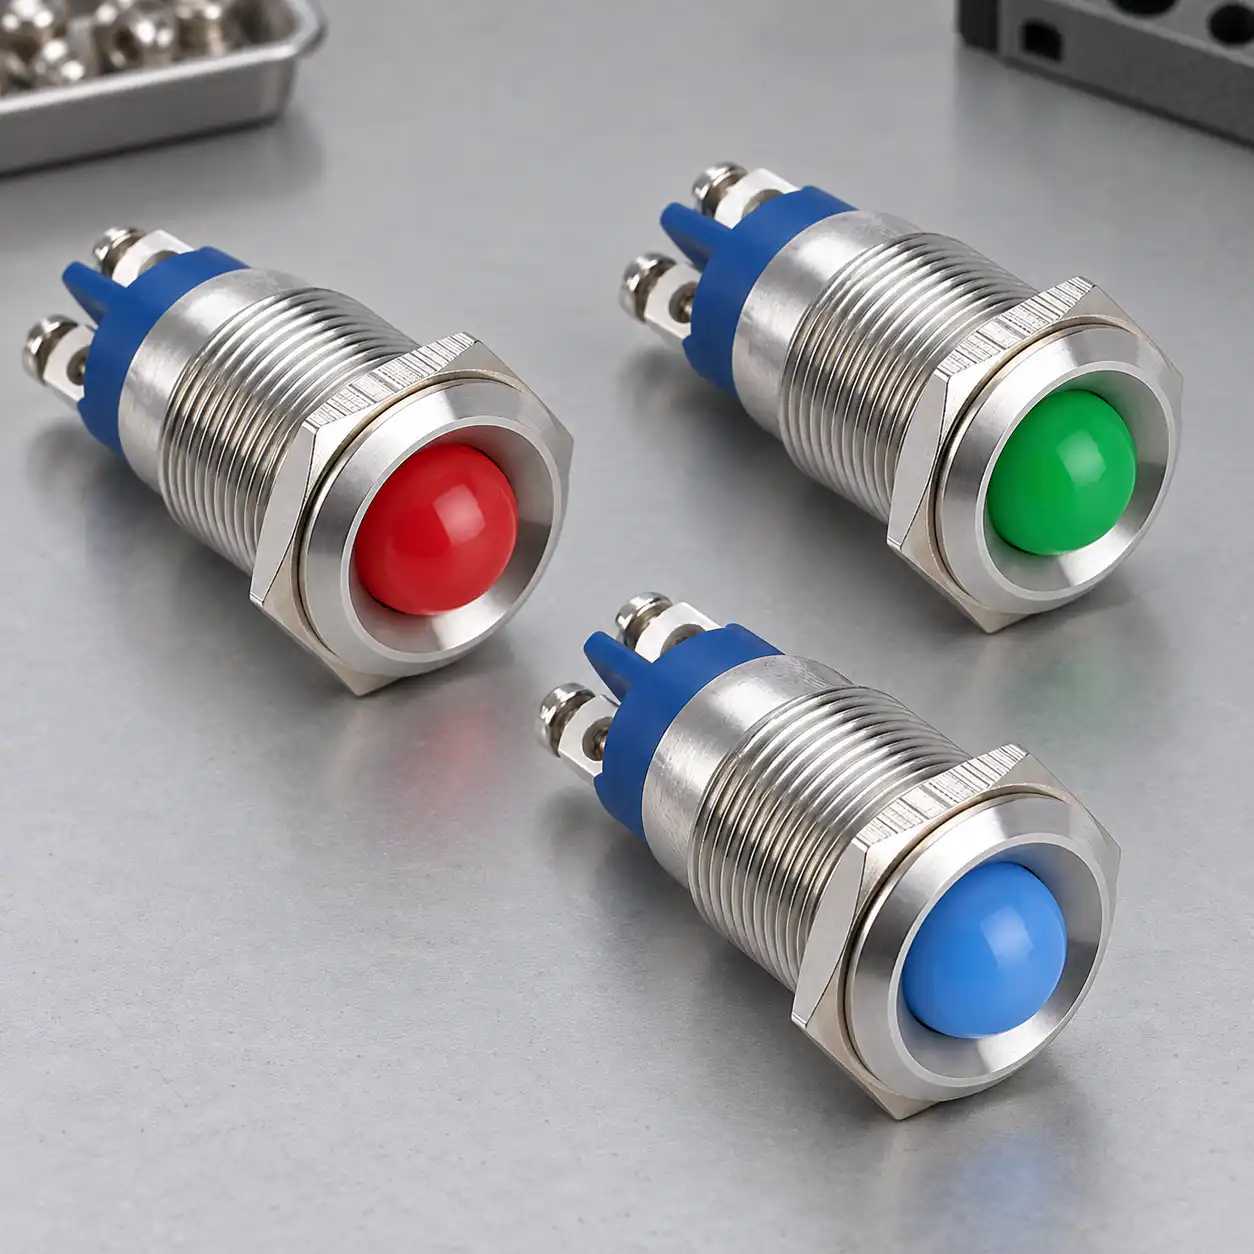
Keep heat and enclosure conditions in view
The word “heat” in a lamp selection discussion can refer to two different things: heat produced by the component, and the temperature the component must tolerate inside the enclosure. Do not estimate either from the lens color or front diameter. Use the manufacturer’s specified operating temperature, current and installation guidance for the exact lamp, then compare them with the real cabinet environment.
A compact sealed enclosure, nearby power components, sunlight through a window, frequent duty, or a poorly ventilated panel can change the conditions around a pilot light. Conversely, a lamp rating does not mean the whole cabinet is suitable for the same temperature or exposure. The product page’s front-panel protection rating does not automatically extend to rear terminals, cutout edges or a damaged gasket. Consider the complete installed assembly, panel thickness, mounting surface and maintenance condition.
If the panel can become hot, verify the temperature at the lamp location during the expected operating condition. If the lamp will be exposed to oil, dust, condensation or washdown, check that the full installed configuration is suitable. Do not use an IP rating as a substitute for checking voltage or thermal suitability.
Match the indicator to the information circuit
Before selecting an indicator light, write down what its illumination is supposed to mean: power present, a contactor energized, a process step active, or a fault acknowledged. These are different signals. A lamp wired across a supply can indicate that power is present; a lamp driven by an auxiliary contact can indicate a device state. The circuit diagram, not the lens color, defines that behavior.
The exact lamp circuit may be AC or DC, may be connected to a relay contact or a controller output, and may depend on a neutral or return conductor in a specific design. Follow the approved machine drawing and the model’s terminal diagram. A product photo cannot establish which terminal is line, neutral, switched output or common. The separate 110V vs 220V push-button LED circuit guide concerns illuminated buttons; its circuit should not be assumed to match a standalone panel indicator.
For U.S. workplaces, OSHA’s electrical-equipment rule says equipment must be suitable for its use, including consideration of voltage, current and heating effects, and that listed or labeled equipment be installed according to its instructions. The rule does not approve a particular ONPOW lamp for a particular machine. IEC 60204-1 covers the broader electrical equipment of machinery. Use the standard and applicable local requirements with the machine’s approved design rather than treating this article as a wiring instruction.
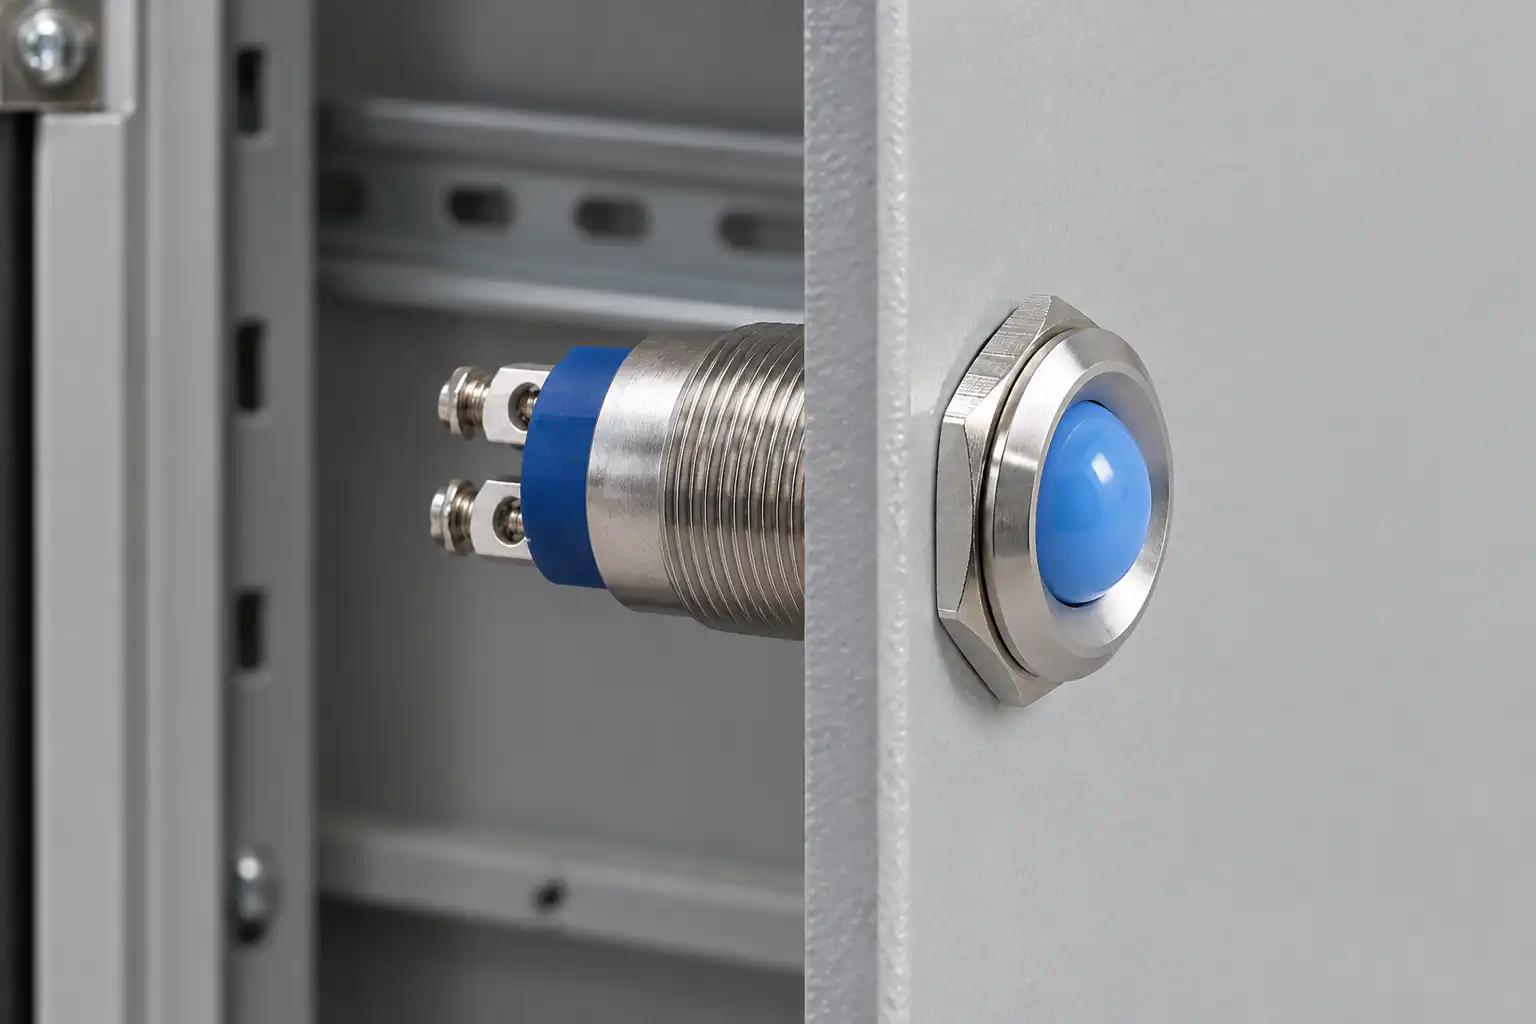
A safe selection and commissioning checklist
- Record the supply. Confirm nominal voltage, AC or DC, expected range and frequency from the machine drawing or approved source.
- Identify the exact lamp. Match the full order code, terminal arrangement, lens color and physical dimensions to the product documentation.
- Resolve the 110V/120V question. If the lamp is marked 110V and the panel is nominally 120V, obtain written confirmation that the exact version’s permitted range covers the actual circuit. Do not rely on a generic tolerance from another part.
- Check the circuit function. Identify the source, return path, fuse or other protection, switched contact/output and intended meaning of the light.
- Check fit and environment. Confirm cutout, panel thickness, rear clearance, enclosure temperature, front protection and access for maintenance.
- Verify the assembled function. Under the approved commissioning procedure, check that the lamp turns on and off with the intended condition and that its state is not confused with a nearby indicator.
Installation, inspection and powered measurements on a 120V AC panel should be performed by qualified personnel using the applicable safety procedure. De-energize and verify absence of voltage before making wiring changes; do not use this article as a live-work procedure.
Common mistakes to avoid
Treating 110V as automatically equal to 120V. Use only the voltage range documented for the selected part. If the document is silent, get supplier confirmation.
Ordering by lens color alone. The same blue lens may be available in several supply versions and mechanical bodies. Confirm the full model code.
Assuming AC/DC on one version applies to every voltage. The product page may offer several voltage options; the chosen version and schematic determine the actual circuit connection.
Reading a front protection rating as a complete enclosure rating. Verify whether the figure applies to the installed front surface, the rear connection or the full assembly.
Wiring the lamp to the wrong state. A light that merely indicates supply presence cannot also be assumed to indicate a load, contactor or PLC state. Use the approved circuit drawing.
Educational video
This panel-indicator installation video by Pono Kayo shows a generic one-phase and three-phase pilot-lamp installation. It is an illustrative overview only; it is not an ONPOW GQ16G wiring diagram and does not confirm a 120V lamp rating.
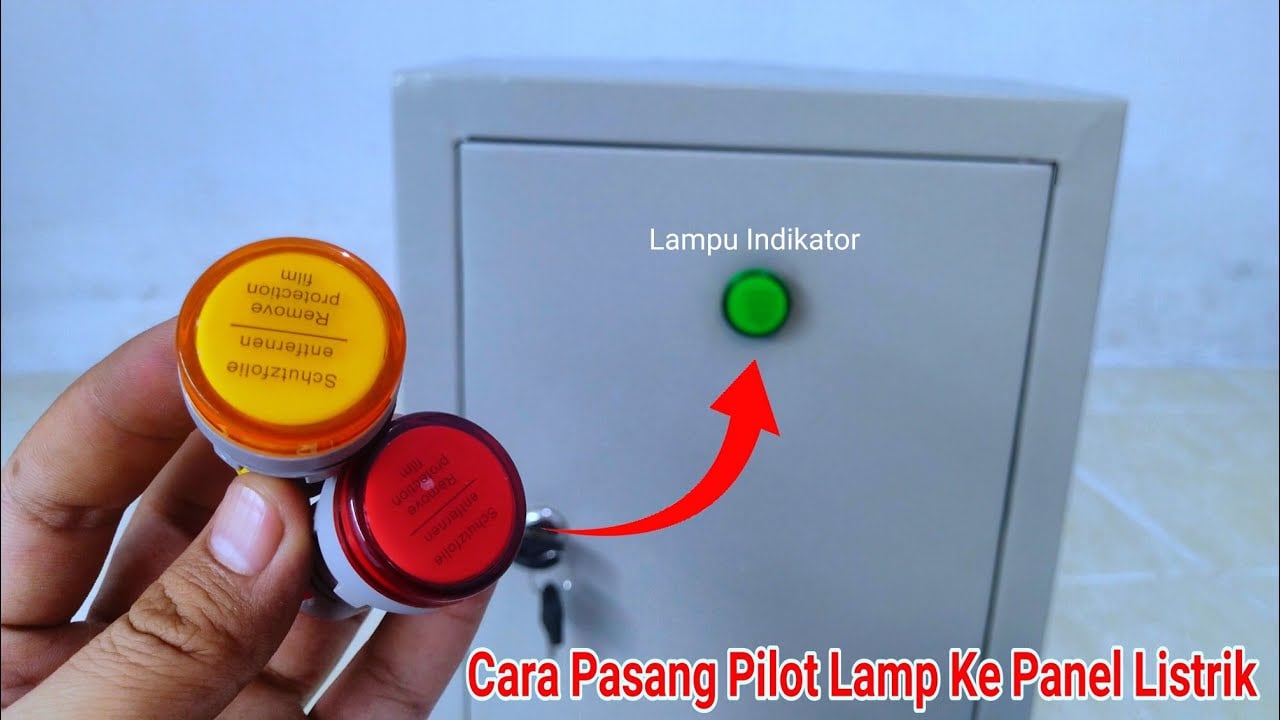
Watch the panel indicator-light installation overview.
Frequently asked questions
Is a 110V indicator lamp automatically suitable for a 120V AC panel?
No. Use the exact model’s published permitted voltage range and application conditions. If the manufacturer does not clearly state that the selected version covers the actual supply, request written confirmation before ordering or wiring it.
Does a 120V AC indicator light need a neutral?
The connection depends on the specific lamp and control circuit. Some circuits use a switched line and return; others use an auxiliary contact or a different supply arrangement. Follow the approved schematic and the exact model terminal diagram.
Can I use a 220V indicator on 120V because it is “close enough”?
Do not assume so. A lamp may be dim or fail to illuminate if the applied voltage is below its rated range. Select the correct nominal version or obtain written manufacturer guidance.
Does an IP67 front rating protect the rear terminals too?
Not necessarily. Check the scope of the rating and the installation instructions. A front-panel seal does not establish the protection of rear connections or the complete enclosure.
Is the lamp’s rated current the same as the circuit’s protective rating?
No. The lamp current is only one component detail. Use the machine design and applicable circuit-protection requirements to size the complete circuit; have a qualified person verify the installation.
References
- OSHA 29 CFR 1910.303 — General electrical-equipment requirements
- IEC 60204-1 — Safety of machinery, electrical equipment of machines



