

Push button incoming inspection should confirm that the delivered assembly matches the approved order, fits the intended panel, changes the correct contacts and includes the specified lamp and mounting parts. Start with identity and traceability, then inspect mechanical features and perform controlled electrical checks on isolated samples. Do not treat a green actuator, a familiar mounting diameter or a successful continuity beep as proof of complete conformity. A useful receiving record connects each observation to an approved drawing, order code or agreed test method, so purchasing, assembly and engineering can make the same release decision.
Define what the purchase order actually accepts
An incoming check becomes unreliable when the inspector has only a catalogue picture. Before the shipment arrives, assemble a receiving pack containing the supplier’s complete order code, approved drawing revision, contact arrangement, operating action, illumination details and supplied accessories. Identify which requirements apply to the complete assembly and which apply to separate contact or lamp modules. A mixed carton can contain operators that look identical while their rear circuits differ.
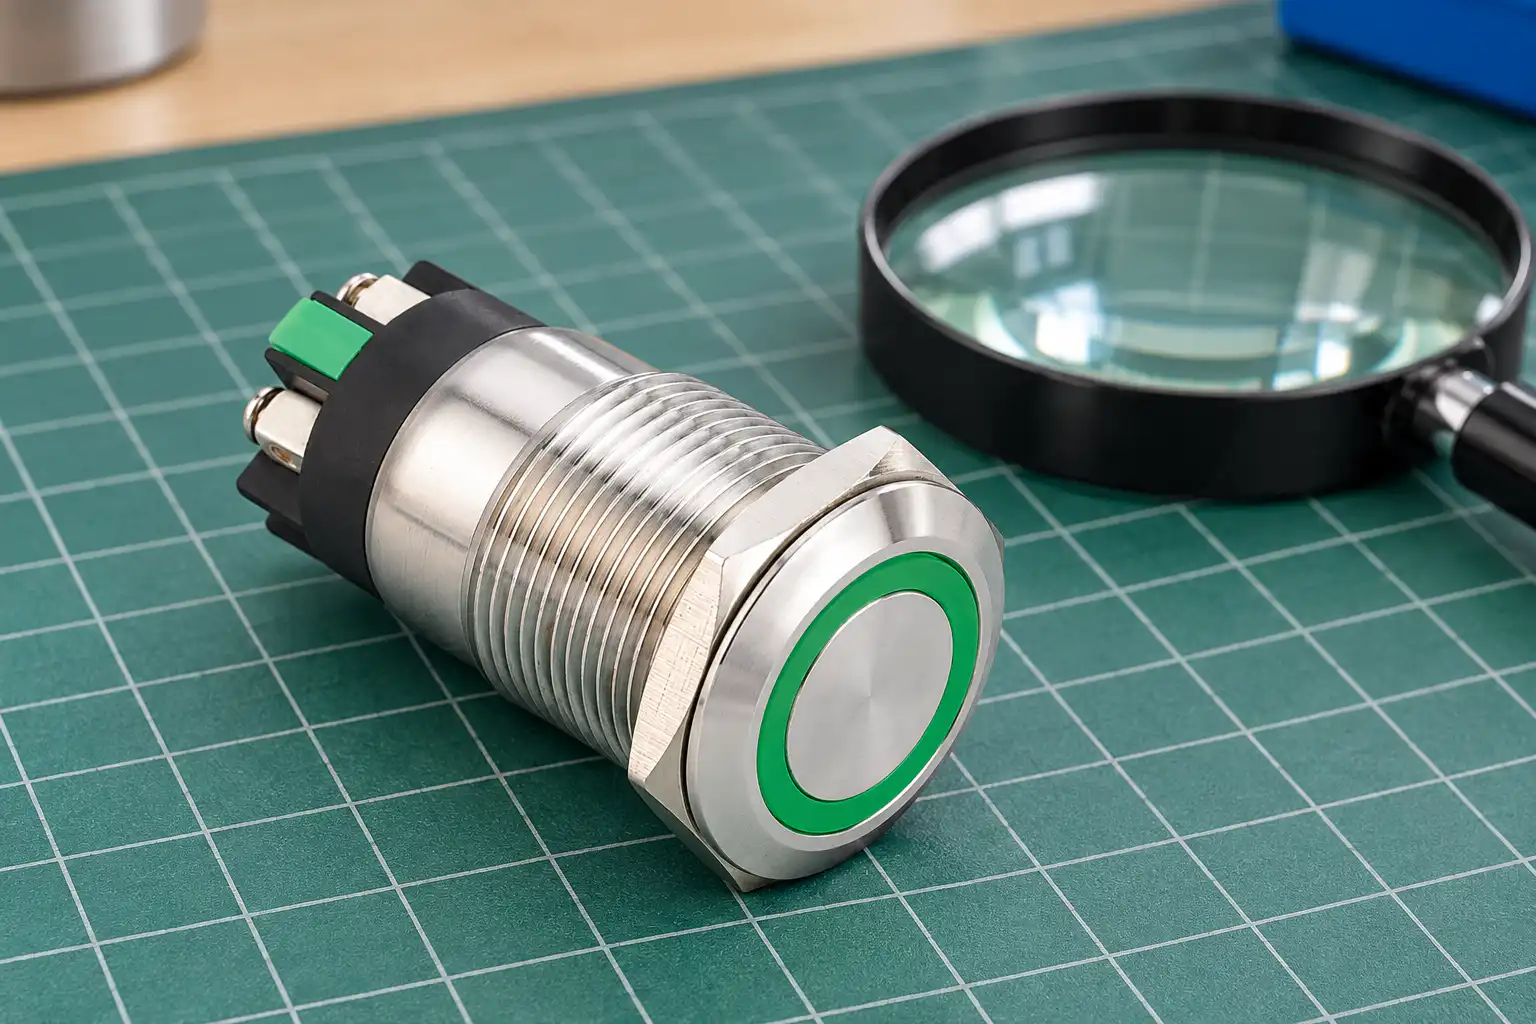
For a real product reference, review the ONPOW LAS1GQ-11E/L/S product page and obtain the drawing and configuration confirmation for the ordered version. The pictured metal operator illustrates features an inspector can see; it does not establish the specification of every similar-looking button. Avoid transferring ratings from a neighbouring model or from a photograph of a different terminal arrangement.
Separate requirements into three groups: characteristics that receiving staff can check directly, characteristics requiring an approved fixture, and characteristics demonstrated by supplier qualification evidence. Receiving inspection should not casually repeat destructive endurance, ingress or dielectric tests on saleable parts. Those tests need their own methods, equipment and disposition rules.
Keep lot identity before opening the cartons
Record delivery date, purchase order, supplier batch identifiers, ordered quantity and the number of packages received. Photograph the outer labels before separating parts from their packaging. If cartons contain several variants, create a separate receiving line for each configuration. Preserve the connection between each sample and its original carton rather than collecting loose parts in a shared tray.
Check whether the packaging kept actuators, threads and terminals from rubbing against each other. A damaged carton does not automatically prove a damaged switch, but it identifies samples that deserve closer examination. Record water marks, crushed partitions, displaced protective caps and missing labels as observations. Describe what is visible instead of guessing the cause during the first inspection.
Agree the sampling plan before looking at the shipment. Sampling is a decision process with residual risk; it is not a promise that every untested part is good. Critical characteristics may need a different inspection approach from cosmetic observations. Use the organisation’s approved quality plan and escalation rules, particularly where a wrong contact function could affect machine behaviour.
Use a receiving checklist with a clear disposition
The following table is a qualitative receiving framework, not a universal acceptance specification. Replace every drawing-dependent item with the approved requirement for the purchased assembly. General inspection planning is discussed in NPTEL’s inspection and quality control course; the actual release criteria remain those agreed for your purchase.
| Check | Evidence to collect | Hold the lot when |
|---|---|---|
| Identity | Order code, revision and packaging record | The delivered variant cannot be identified |
| Mounting | Drawing comparison and approved panel coupon | Threads, keying or retention do not match |
| Operating action | Released and operated states recorded | Momentary or maintained action differs |
| Contacts | Terminal map and isolated functional result | Any pole changes differently from the drawing |
| Illumination | Confirmed lamp supply and separate test result | Lamp identity or required supply is uncertain |
| Accessories | Nut, gasket, modules and approved quantities | Required mounting or sealing parts are absent |
| Condition | Photographs and sample identifiers | Damage could impair installation or operation |
Inspect the mechanical assembly without changing it
Look at the actuator surface, bezel, threads, mounting nut and rear housing. Inspect for cracks, bent terminals, loose hardware, contamination and damage that could obstruct movement. Operate samples by the intended hand action. Do not apply pliers to an actuator or force the mechanism beyond its intended travel to discover whether it feels robust.
Use a panel coupon made to the approved cutout when fit is a receiving requirement. The coupon should represent the specified panel thickness, keying and finish. A switch that passes through a bare hole may still fail once a gasket, legend holder or coating enters the mounting stack. Record the test configuration so a future operator can repeat the result.
Check access to the retaining hardware and terminals. Tightening should follow the approved installation instructions; an improvised torque can damage plastic modules or distort a seal. Where the order requires a stated torque, use suitable controlled tooling. Where no torque is available, request clarification instead of creating a value from a similarly sized product.
Verify contacts on an isolated sample
Create a terminal map from the supplied drawing before attaching the test fixture. Identify each contact pair and distinguish switch terminals from lamp terminals. For a changeover contact, record the common terminal and the contact state with the operator released and actuated. The guide to push button contact blocks provides the broader configuration context.
A continuity check verifies the intended path at the instrument’s test conditions. It does not demonstrate load rating, electrical life or low-level signal reliability. Inspectors should record the method and result rather than writing “electrical passed” after hearing a beep. If resistance is an acceptance characteristic, use the specified resistance method and instrument conditions.
Never connect an ohmmeter to an energised panel. Bench inspection should use isolated parts, with a controlled supply only for tests that require it. For work involving installed equipment, apply the site’s hazardous-energy procedure. OSHA’s hazardous energy standard is a useful US reference for the distinction between control commands and energy isolation; a stop push button is not an isolating device.
Test illumination as its own requirement
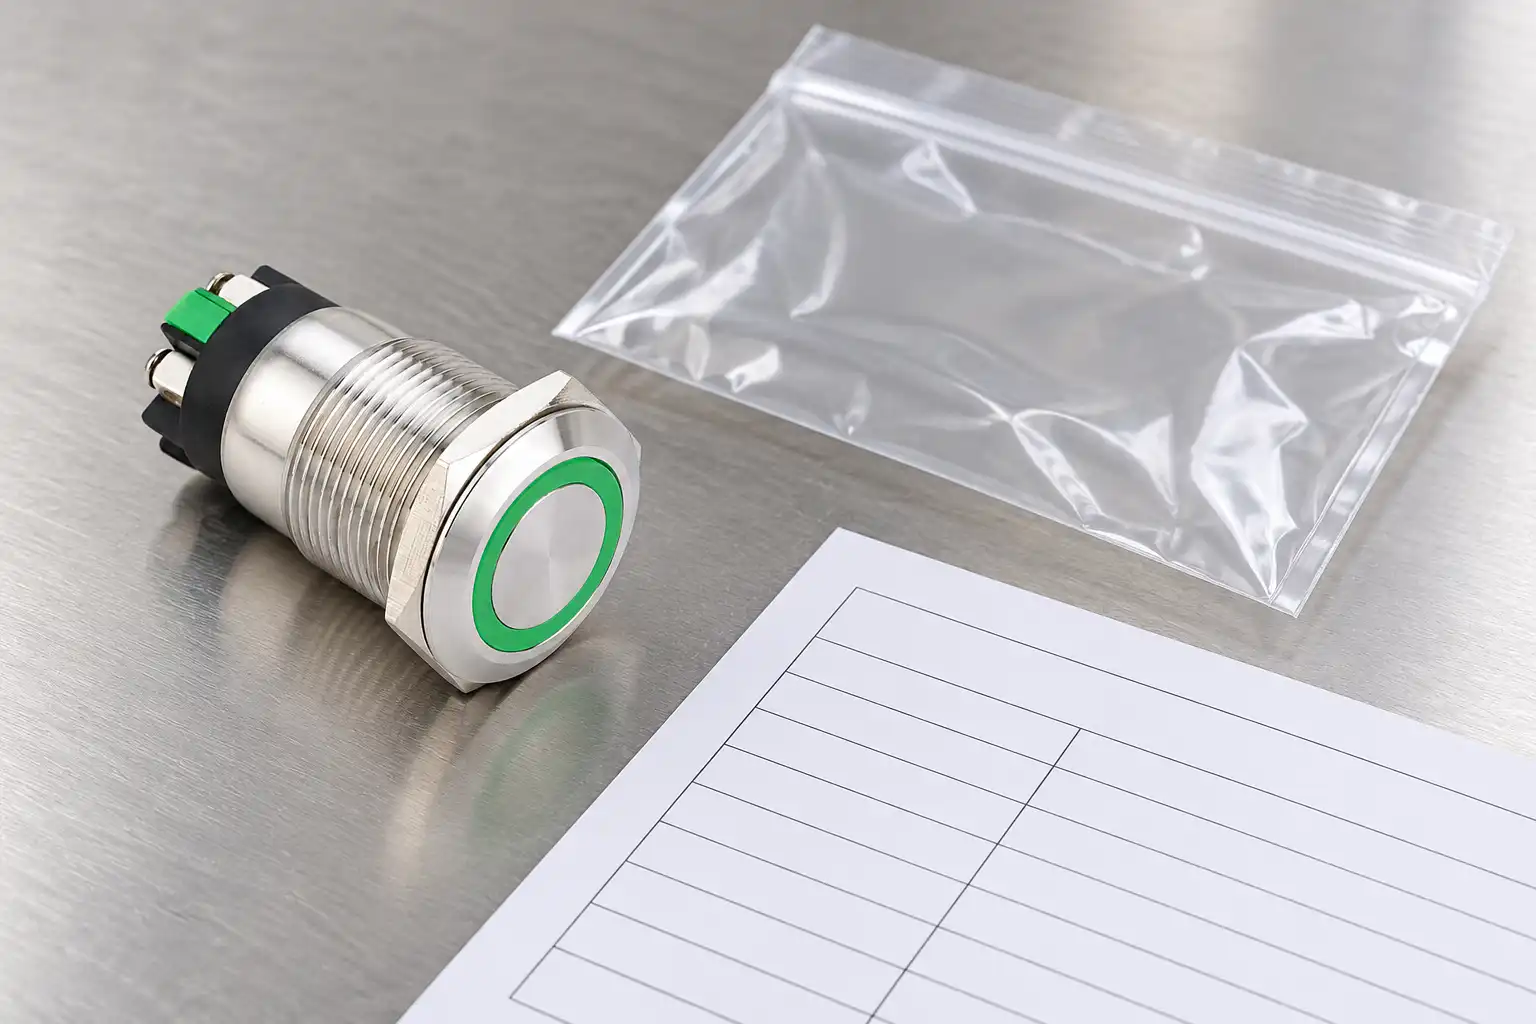
An illuminated actuator combines a switching function with a visible indication. These circuits may have separate terminals and different requirements. Confirm the ordered lamp voltage, supply type, polarity where applicable and circuit arrangement before energising it. Use a protected test setup designed for that configuration. A lamp that appears dim on an unsuitable supply should not immediately be classified as defective.
Record colour and visibility under defined viewing conditions. Camera exposure can make two lamps look different even when the observer sees no meaningful variation, so photographs alone should not establish brightness conformity. If brightness or colour consistency matters, agree the test conditions and acceptance method with the supplier before production approval.
Define what illumination will mean in the finished machine. A receiving lamp test only establishes that the lamp responds under the specified test; it does not prove that the machine will illuminate the correct state. Keep later control-system checks separate from component receiving records. See the complementary guide to ring and dot illumination when planning operator visibility.
Handle failures without losing the evidence
When one sample fails, identify it and preserve its configuration. Record the terminal pair, action, instrument and observed result. Do not repeatedly operate, clean or dismantle the sample before the initial evidence is saved. Those actions can change an intermittent symptom and make the supplier investigation harder.
Quarantine the affected stock according to the approved quality procedure. Separate confirmed failures from untested parts and avoid mixing the lot with accepted inventory. A supplier may need a complete assembly, its packaging and a comparison sample to reproduce the issue. Agree whether further sorting is permitted and who authorises release after sorting.
After corrective action, update the receiving pack if the cause was an unclear code, drawing mismatch or missing test condition. If the delivered design changes, engineering should assess the change before receiving staff accept it as equivalent. An attractive replacement operator can still have different contact timing, rear depth or lamp wiring.
Build a repeatable inspection record
A practical record includes inspector identity, inspection date, lot size, sampling basis, drawing revision, fixture identity, instrument identity and the result for every checked characteristic. Keep numerical readings with their units and method. Attach photographs to the relevant sample rather than placing an unlabeled photo folder beside a pass/fail spreadsheet.
State the disposition precisely: accepted, held for clarification, rejected or accepted under an authorised concession. A concession should identify the specific deviation, scope and approval; it should not silently become a new product requirement. Preserve the record so repeat orders can be compared without relying on someone’s memory of the last delivery.
For the next enquiry, send ONPOW the required action, contact diagram, panel drawing, lamp supply and receiving criteria. Review the panel-mounted push button guide before freezing the mounting interface. A clear enquiry reduces receiving ambiguity and makes supplier confirmation more useful than asking for a generic “industrial grade” button.
Frequently asked questions
Does a receiving inspection prove the rated lifetime?
No. It checks specified characteristics on the received lot using the agreed methods. Endurance claims require separate qualification evidence and stated operating conditions. Do not substitute repeated manual pressing at receiving for an approved life test.
Should every part be electrically tested?
That depends on the quality plan, failure consequence, supplier history and agreed acceptance criteria. Decide the approach before delivery. Neither a small sample nor a full functional check automatically establishes every other requirement.
Can a different colour operator be accepted as equivalent?
Only after the responsible person confirms the complete specification and intended command meaning. Colour is one characteristic; contact function, dimensions, illumination and mounting parts still require comparison.
What is the most useful information for a supplier claim?
Provide the complete order code, batch identity, approved requirement, sample photographs and a reproducible observation with its test conditions. Preserve the failed sample without unapproved repair or disassembly.
Further learning
This university lecture uses metal casting examples to introduce inspection, testing and quality-control principles. Apply the planning principles to receiving work; it is not a push-button test procedure.
Inspection, Testing and Quality Control — nptelhrd / IIT Roorkee



