

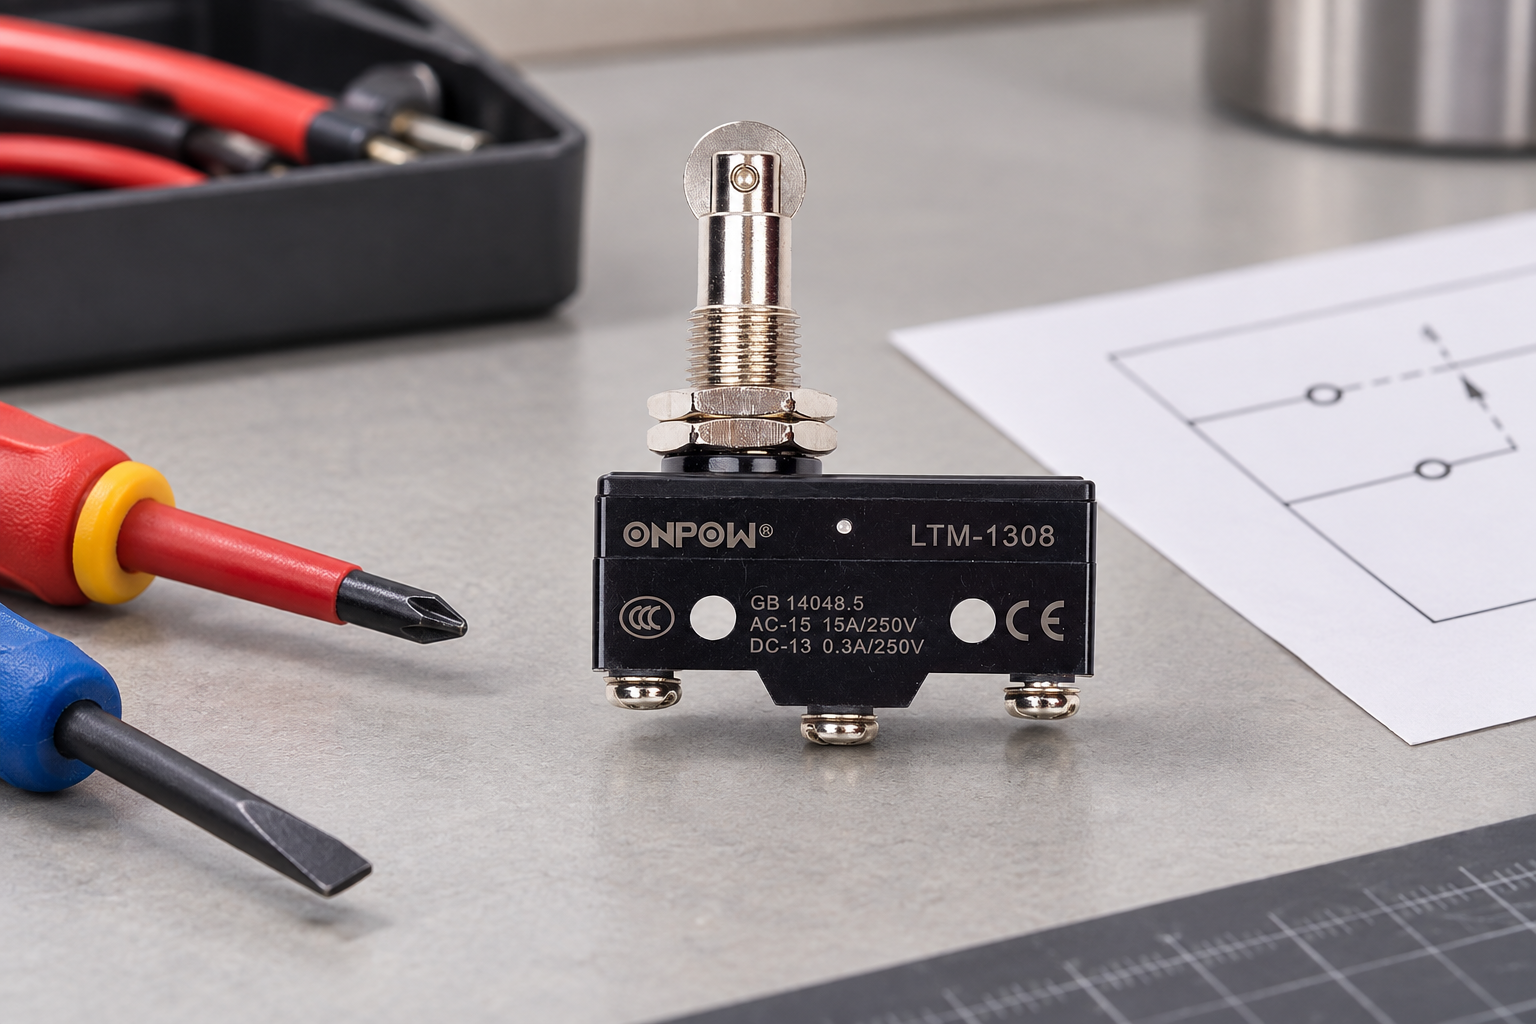
A micro switch wiring diagram shows how the common terminal changes connection between normally closed and normally open contacts as the actuator moves. For a conventional SPDT switch, COM connects to NC at rest and to NO after operation. That describes contact logic, not a universal terminal layout. Check the exact model drawing, identify the reference actuator position, and match the contact rating to the circuit before connecting anything. An isolated continuity test can confirm the two states. It cannot establish the switch’s voltage rating, approve a machine safety function, or replace the equipment wiring diagram.
Read the contact diagram before the terminal position
COM is the shared moving-contact connection. NO and NC describe the contact paths relative to the manufacturer’s defined normal position, commonly an unoperated actuator. They do not describe whether the machine is normally running. A switch installed under a cam can remain mechanically operated throughout normal production, so the controller’s normal signal may come from the contact marked NO.
Do not assume the middle screw is COM, that the terminal nearest the plunger is NC, or that another supplier’s numbering matches. Terminal orientation can change with actuator, mounting, and termination options. Photograph the label, record the full part number and suffix, and obtain the matching contact drawing. If the drawing is missing or illegible, stop the substitution until the circuit is identified.
For a wider explanation of the snap mechanism, read マイクロスイッチの仕組み. This article concentrates on identifying and documenting the electrical connections rather than choosing an actuator.
| Actuator condition for a conventional SPDT example | COM–NC path | COM–NO path | 記録すべきこと |
|---|---|---|---|
| At the defined normal position | 閉館 | 開く | Reference position and terminal identities |
| Beyond the specified operating point | 開く | 閉館 | Travel direction and operated signal |
| During release before the reset point | Depends on mechanical history | Depends on mechanical history | Release position and hysteresis |
| Wire removed or damaged | Circuit-dependent loss of signal | Circuit-dependent loss of signal | Controller response and diagnostic coverage |
This table is a contact-state example, not an ONPOW terminal map or a claim about every changeover product. Use the exact drawing to confirm whether the device provides SPDT contacts and how its transfer is specified.
Separate the switch contact from the controller input
A dry contact does not create a voltage. It completes or interrupts a circuit supplied elsewhere. In a control input circuit, the switch may connect a supply to an input, connect an input to a reference, or operate through an interface module. Those arrangements are electrically different even when the same COM–NO contact pair is used.
Identify the input module’s supply, reference, input threshold, permitted leakage, current requirement, and wiring convention. A PLC drawing that uses one common arrangement is not proof that another module uses it. Sourcing and sinking input circuits need the correct relationship between supply and return. Keep the controller manual with the switch drawing so that the field wiring can be traced end to end.
As a conceptual example, a compatible input circuit can read a contact path as an operated signal. The input may then be inverted or interpreted by software. A lit input indicator proves only that this input has reached its switching threshold; it does not prove that the actuator is in a mechanically safe position. Verify the displayed state against physical position and the equipment’s documented sequence.
Decide what the normal and fault states must mean
Choose NO or NC from the required behavior of the complete circuit. For a simple indication, NO may produce a signal when a part arrives. NC may provide a continuous signal that disappears when a mechanism reaches a limit. Either choice needs a defined response to an open cable, a short circuit, a stuck actuator, and a failed input.
An NC loop can reveal some open-circuit failures, but it does not automatically detect every fault. A short across the switch may keep the circuit appearing healthy, and a welded contact may prevent the intended state change. Do not describe a conventional NC switch as inherently fail-safe. A safety-related function needs the specified protective device, circuit architecture, diagnostics, and validation for the machine.
For the practical difference between a component and a packaged position sensor, see micro switch versus limit switch. For a housed limit-switch circuit, the separate NO/NC limit-switch wiring guide addresses that installation context.
Confirm the load category, not only the printed current
A resistive current rating cannot be transferred automatically to a relay coil, solenoid, motor, lamp, or very small electronic input. These circuits place different stresses on the contacts. An inductive load creates an opening transient; an electronic input may require a contact material and minimum switching condition suitable for a small signal.
Check the rated operational voltage and current for the specified load category, AC or DC operation, switching frequency, ambient conditions, and expected electrical life. A thermal current marking and a contact switching rating answer different questions. Keep them separate in the purchasing specification. The IEC 60947-5-1の発行情報 identifies the standard’s scope for electromechanical control circuit devices; its existence does not certify an individual model or provide that model’s ratings.
If the input is a low-current DC circuit, request the manufacturer’s low-level switching information. If a coil is being switched, confirm the coil load, interface, and suppression design. Do not add a flyback diode to an AC circuit by analogy with a DC diagram. If the contact cannot support the actual load, use a correctly designed interface rather than increasing the fuse or relying on an oversized printed rating.
Verify contacts with the circuit isolated
Only qualified personnel should test or modify installed electrical equipment. Follow the machine’s energy-control procedure, including stored mechanical, pneumatic, hydraulic, and electrical energy. For United States workplaces, 29 CFR 1910.147 addresses hazardous-energy control, while 29 CFR 1910.333 covers relevant electrical work practices. Apply the rules appropriate to the workplace and equipment.
A resistance or continuity instrument is used on a deenergized, suitably isolated circuit. Parallel paths through other devices can give misleading readings. Identify the terminals from the drawing, disconnect or isolate as required by the approved procedure, and compare the meter result in the defined unoperated and operated states. Do not use a continuity beep as proof that a contact can interrupt its rated load.
Move the actuator through its intended travel without forcing it past the permissible position. Record the state change and release behavior. A click without the expected electrical transition calls for investigation; an intermittent reading can arise from contact damage, loose connections, an incorrect meter range, or unstable actuator motion. Resolve the cause before putting the device back into service.
Wire and document the actual installation
Use the correct conductor size, terminal type, tightening method, and strain relief from the selected product’s instructions. Protect the conductors from moving parts and sharp edges. A wire that is electrically correct but pulls on a terminal during every machine cycle is a maintenance fault waiting to develop.
Label the conductors with the equipment’s wire numbers and record the switch terminal designation beside each one. Do not use wire color as the only identity. Include a clear view of the installed actuator, its normal position, the terminal cover, cable routing, and the bracket. The diagram should show which path is used and what the controller should report in each operating state.
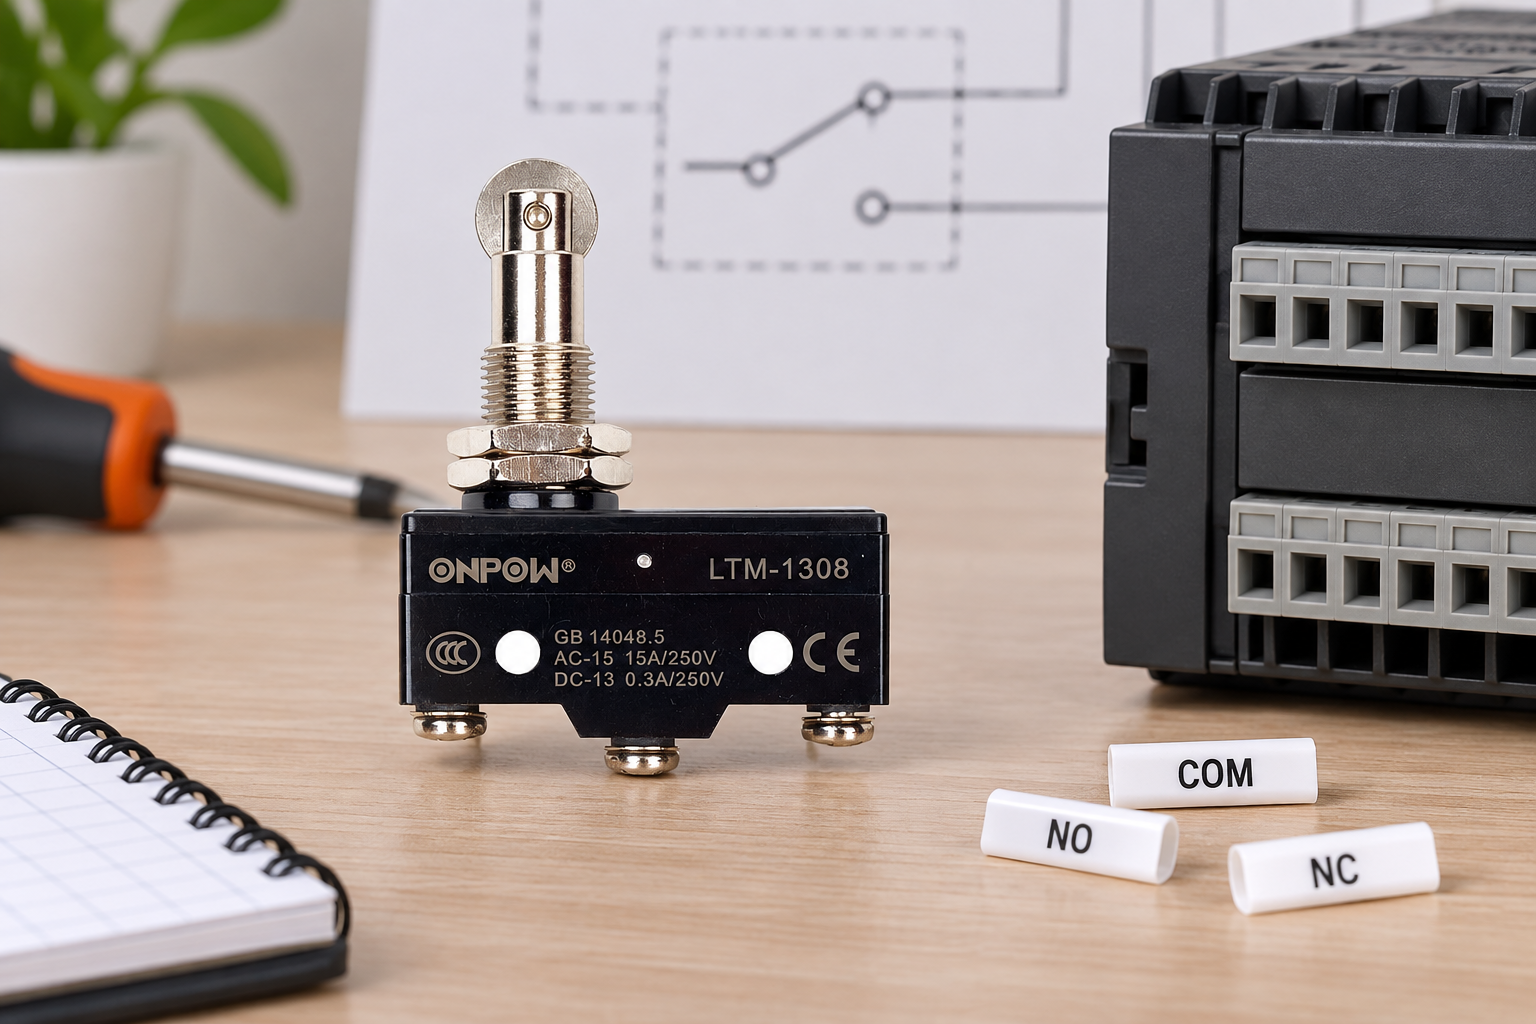
その ONPOW LTM-1308 製品ページ provides a real mechanical-switch example for discussing installation. Its photographs illustrate the body and actuator; they are not substitutes for a model-specific contact drawing. Ask ONPOW for the exact variant’s contact arrangement, switching data, terminal instructions, and dimensional information before specifying it for the application.
Commission the signal together with the mechanism
After the approved restoration of energy, test through the documented commissioning process. Confirm the physical position, the contact state, the controller input, and the resulting action. A correctly changing input can still be assigned to the wrong program address. Compare the live indication with the wiring schedule and control narrative.
Check approach and release in both directions that the mechanism can actually travel. Confirm the actuator resets when the target leaves, and that normal overtravel remains within the manufacturer’s limit. If vibration makes the input chatter, investigate the mechanical dwell and control timing rather than hiding a poor mounting arrangement behind excessive filtering.
Record the result in a simple state matrix: target absent, target arriving, target present, target leaving, and any approved diagnostic test. Include the expected machine response and the person who completed the verification. Changes to the bracket, actuator, contact suffix, or controller input require review because they can alter the meaning of the signal even when the wiring colors remain unchanged.
Purchasing checklist for a wiring-compatible replacement
Provide the full existing part number, contact drawing, circuit voltage, load type, input-module reference, actuator type, mounting dimensions, and operating environment. Include the present conductor termination and the required normal and operated states. State whether the component is part of ordinary process feedback or a specified protective function.
Ask the supplier to confirm terminal identity and electrical suitability in writing. A replacement that physically fits but swaps the contact meaning can reverse an indication. A different actuator can also change when the contact transfers. For mechanical selection alongside wiring, use the 産業用マイクロスイッチ選択チェックリスト and keep the final electrical and mechanical drawings together.
教育ビデオ
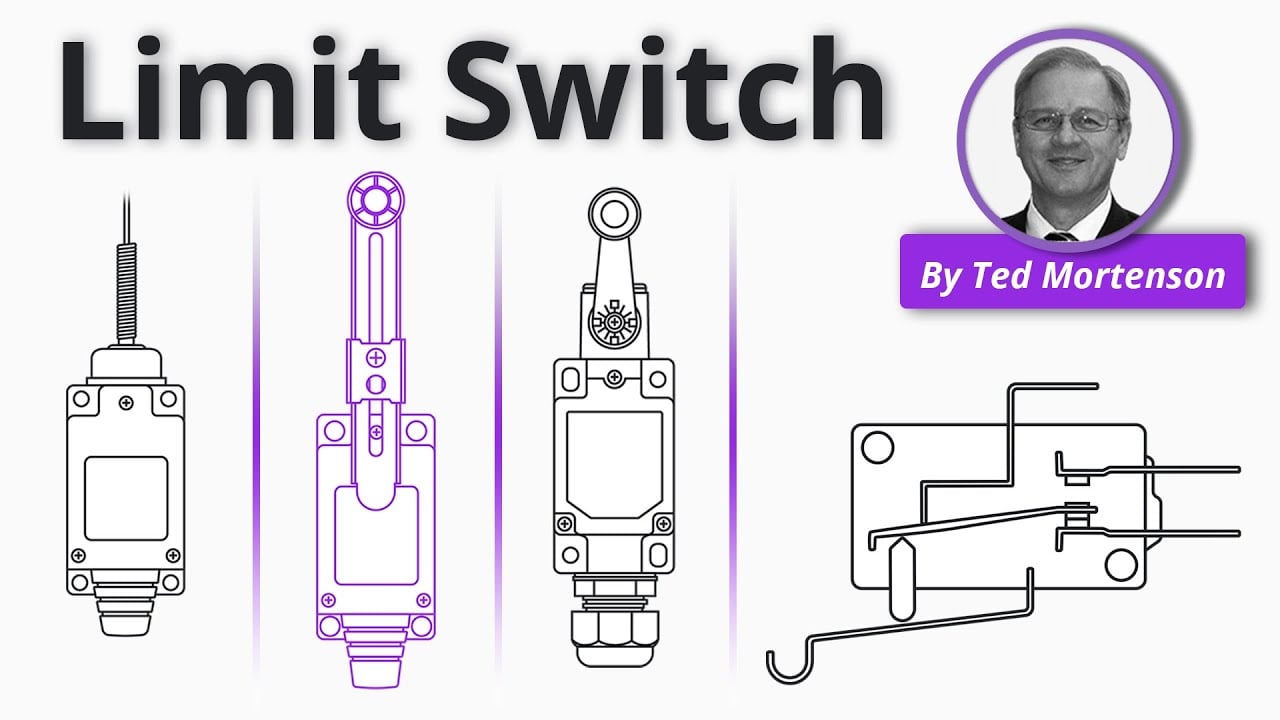
リミットスイッチの解説 | RealParsによる動作原理。一般的な教育背景。実際の回路と設置には、選択した製品図面と機械設計を使用してください。. YouTubeで視聴.
よくある質問
Is COM always the center terminal?
いいえ。端子の位置と番号は正確な製品によって異なります。対応する接点図からCOMを識別し、必要に応じて絶縁された接点の状態を確認してください。.
Can I connect the same supply to NO and NC?
端子名からの接続を即興で行わないでください。NOとNCは従来の切替接点の代替経路です。機械図面とコントローラーのインターフェースがどの経路を使用するか、またそれらが許容される回路を共有しているかを決定します。.
Does a micro switch need its own power supply?
従来の機械式ドライ接点は、別途感知用電源を必要としません。切り替える回路には適切な電源が必要です。電子スイッチや集積アセンブリは、異なる要件を持つ場合があります。.
Is an NC micro switch a safety switch?
NCは接点状態を表します。安全性の評価、直接開放動作、診断カバレッジ、または保護機能の承認を確立しません。完全な安全回路を別途選択し、検証してください。.
Why does the meter show continuity on the wrong pair?
考えられる原因には、端子の誤認識、機械によって保持されたアクチュエータ、並列回路経路、または損傷した接点が含まれます。承認された手順に従ってデバイスを隔離して点検し、その後正確な図面と比較してください。.



