

Wire ferrules can be used with a push button terminal only when the terminal’s instructions permit the proposed ferrule, conductor and preparation method. A ferrule is not a universal upgrade for every screw connection. It changes the prepared wire’s dimensions and shape, so a conductor that fits bare may not be acceptable after termination. Begin with the exact terminal specification and wire construction, then qualify the crimping and connection process. This guide provides a compatibility and inspection workflow without assigning a universal ferrule size, strip length, torque or pull-test limit.
Understand which problem the ferrule is meant to solve
A ferrule provides a prepared end for a stranded conductor in an appropriate terminal system. Whether it is useful depends on the wire, terminal and assembly process. The objective is a repeatable permitted connection, not merely a tidy-looking wire end. A neat ferrule can still be the wrong size, poorly crimped or unsuitable for the terminal receiving it.
Describe the production issue before choosing the remedy. Are strands escaping during insertion? Is the terminal inaccessible for inspection? Are service technicians repeatedly reconnecting a fine-stranded wire? These observations can justify reviewing the connection process, but they do not establish that a ferrule is approved.
Keep terminal function separate from conductor preparation. The push button terminal explanation covers contact arrangements. Adding a ferrule does not change NO, NC or COM behavior, the switch load rating or the control circuit’s intended function.
Obtain the terminal’s accepted conductor information
Identify the exact switch or rear block order code and terminal version. A product family can contain different connection styles. Ask for permitted conductor material, construction and size, accepted end treatments, conductor count, preparation requirements and tightening method. Keep the information linked to the actual version being purchased.
Do not use the nominal wire size alone as proof of fit. The completed ferrule has its own barrel dimensions, insulation collar and crimped geometry. These can affect insertion, clamping and spacing. Confirm that the proposed combination falls within the terminal’s accepted configuration, including any restrictions on insulated or uninsulated ends.
If the documentation specifies bare conductors only or does not address ferrules, seek clarification rather than silently adding one. A supplier’s generic statement about screw terminals is not necessarily approval for the exact push button. Obtain the missing information before the process is released to production.
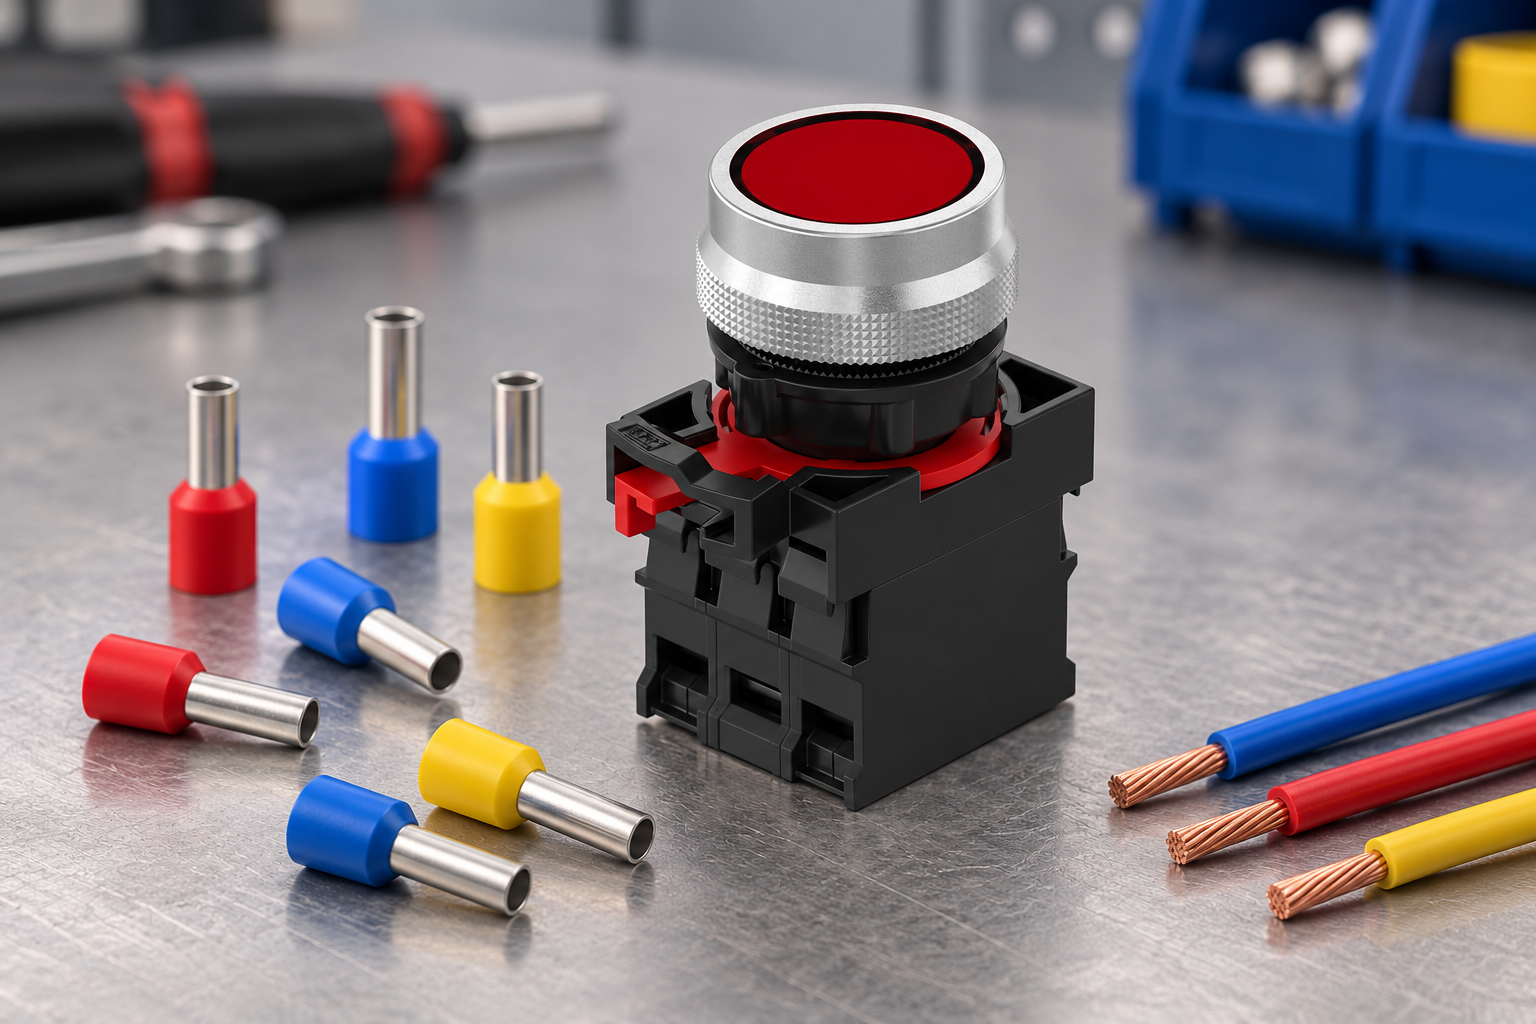
Match the ferrule, conductor and crimp tool as a system
Select a ferrule intended for the actual conductor and the approved terminal application. Then use the ferrule manufacturer’s suitable tooling and process instructions. A tool that closes a sleeve visibly is not, by that fact alone, a qualified match for the ferrule and wire.
Include conductor preparation in the process. The stripped length must suit the chosen ferrule and instructions, and stripping must not leave unacceptable conductor or insulation damage. Do not fold a small conductor back or add loose strands simply to fill an oversized ferrule unless an applicable approved process explicitly permits the configuration.
The crimp profile must be considered in relation to the terminal opening and clamping system. Do not choose a profile solely because it is familiar or gives a pleasing shape. A process qualification should establish that the prepared conductor can be inserted and retained as intended without interfering with adjacent insulation or terminals.
Use a compatibility record rather than a color chart
Ferrule color can help identify items within a defined supplier system, but it should not replace the part number and dimensional specification. Different products and conventions can make a color-only instruction ambiguous. Record the actual ferrule identity and approved conductor range.
| Record item | Required evidence | Common shortcut to avoid |
|---|---|---|
| Terminal version | Exact product and accepted connection method | Assuming every family member is identical |
| Conductor | Material, construction and nominal size | Recording only insulation color |
| Ferrule | Manufacturer, code and relevant dimensions | Selecting by collar color alone |
| Preparation | Approved stripping and handling method | Guessing length from another connector |
| Crimp tool | Approved tool, range and maintenance status | Using any tool that visibly closes the sleeve |
| Connection | Permitted insertion and tightening method | Forcing a prepared end into the opening |
| Acceptance | Approved inspection and applicable tests | Treating a tidy appearance as complete proof |
This table is a process checklist. It does not declare that an illustrated ONPOW terminal accepts a ferrule. Obtain that permission and the relevant limits from the exact product documentation.
Decide whether one or two conductors are permitted
Do not put two conductors into a terminal simply because there appears to be enough space. Conductor count is a terminal specification. A twin ferrule also requires its own compatibility review: the terminal must permit that arrangement, and the ferrule and process must suit the actual wires.
If the circuit needs an additional connection, review the equipment drawing and approved distribution method. A separate suitable connection point may be necessary. Do not turn the push button terminal into an unplanned junction while leaving the drawing unchanged.
Record changes to conductor count or routing through the equipment’s normal engineering process. An apparently minor maintenance alteration can affect access, identification and the ability to disconnect the correct circuit safely. Future technicians need a record of the actual installed arrangement.
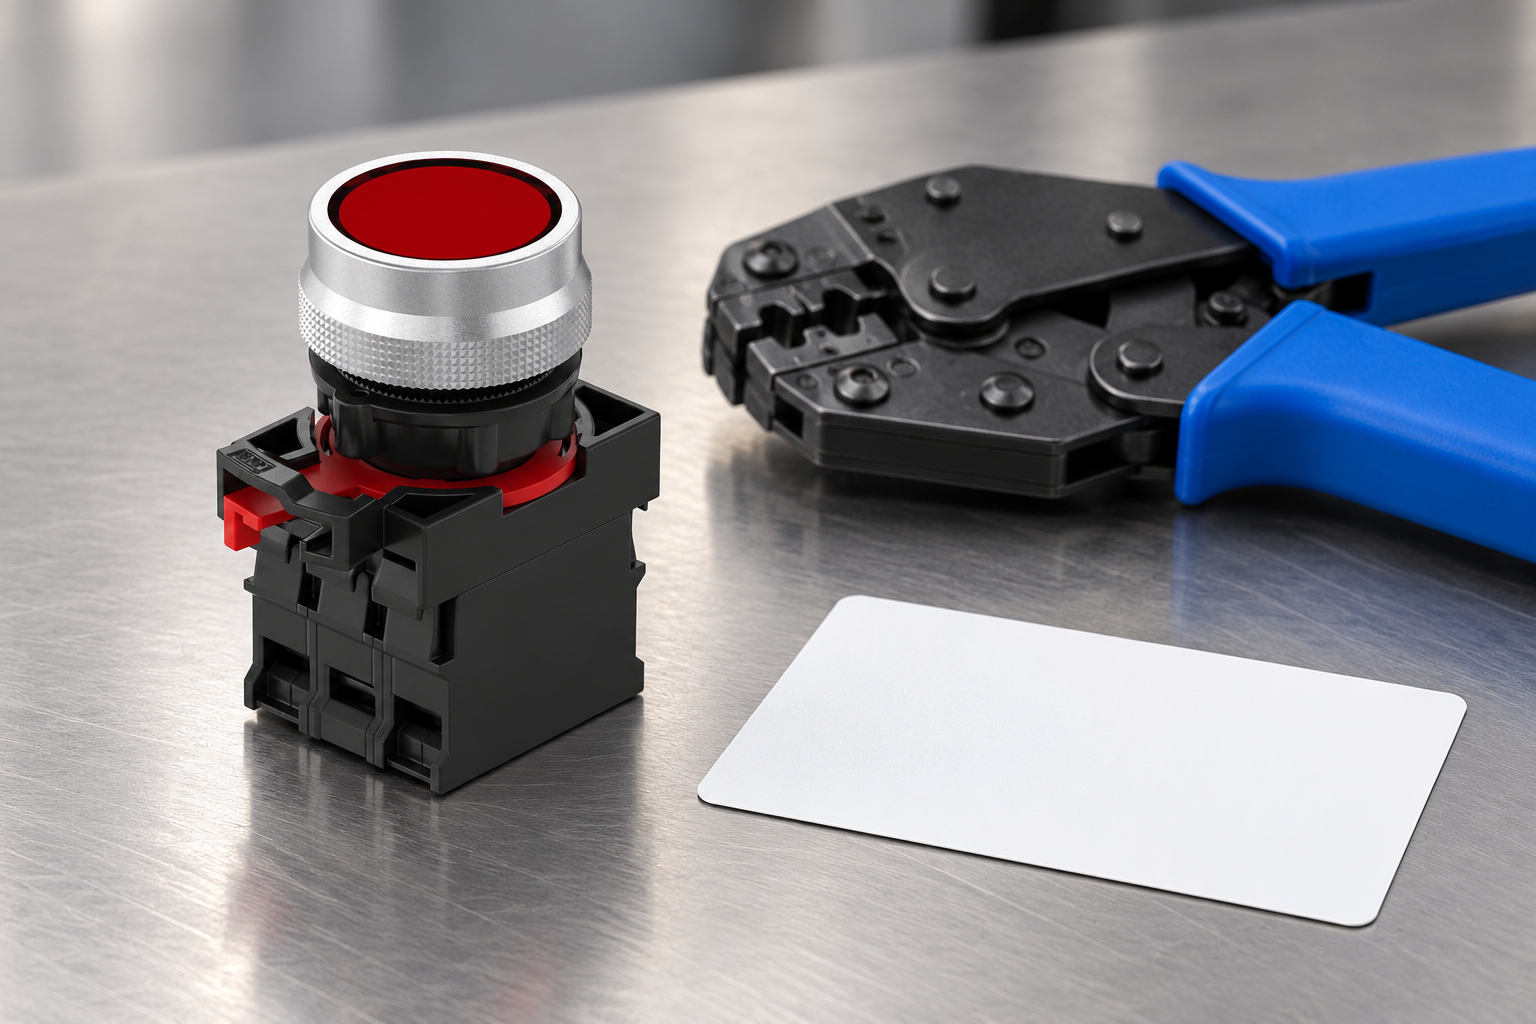
Inspect both the crimp and the installed connection
Inspect the prepared wire before insertion against the approved workmanship criteria. Check the ferrule identity, conductor position, barrel condition, insulation relationship and any loose strands or visible damage. Use suitable lighting and access; inspecting only the outside of a collar misses the actual conductor interface.
After installation, verify that the intended part of the prepared conductor is captured and that the insulation is not unintentionally clamped. Check for unintended exposed conductor and interference with neighboring terminals. The terminal must be assembled using its specified method, even when the crimp itself has passed inspection.
Electrical and mechanical acceptance methods should come from the approved process. Do not invent a universal hand-pull force or resistance limit. A test can damage a connection if it is not appropriate to the design, and a single successful measurement cannot establish the entire process’s repeatability.
Provide wire support and enough service room
A ferrule does not provide strain relief for the cable run. Support the wiring so that bundle weight, door movement and nearby service work do not load the terminal. Review the actual installed path and the closed enclosure, not only the arrangement on an assembly bench.
Leave the service length and bend arrangement required by the equipment design. Avoid a route that pulls tight when the door opens or presses against the switch when it closes. The finished connection must remain inspectable and accessible with the approved tool.
その ONPOW26-11 assembly illustrates the relationship between a front operator and rear components. Its image is not a ferrule-compatibility claim. For the larger component decision, use the contact block guide and obtain the terminal drawing for the ordered variant.
Qualify production and control substitutions
Build representative connections with the actual conductor, ferrule, tool and terminal. Evaluate them using the equipment’s approved inspection and test plan. Record the identities and process conditions so that a passing result can be traced to what was actually used.
Define what happens when a supplier changes. Another ferrule with the same nominal wire marking may have different dimensions or tooling requirements. Another cable can differ in construction. Review these changes before treating them as equivalent production materials.
Keep tools within the specified maintenance and verification process. A written procedure is incomplete if the tool’s condition is unknown or operators have no accepted examples. Record training, inspection decisions and any recurring defects so that the process can be improved without hiding variation.
Give procurement a complete connection specification
A useful inquiry includes the required switch configuration, exact terminal version, wire details, proposed ferrule and intended conductor count. Ask whether the complete connection is permitted and request the applicable preparation and assembly instructions. Include access constraints where they influence terminal choice.
使用する incoming inspection guidance to plan receiving checks, and contact resistance measurement guidance to distinguish measurement quality from an assumed universal acceptance limit. Contact ONPOW before purchasing when the terminal’s permitted preparation is not documented.
Keep the final evidence with the equipment record. It should identify the approved combination and explain which changes require re-evaluation. That record is more valuable than a statement that the panel “uses ferrules,” because it describes how the actual connection is made and accepted.
よくある質問
Should every stranded wire have a ferrule?
No universal rule applies to every terminal. Use the exact terminal’s accepted conductor and end-treatment instructions. The objective is a permitted, repeatable connection, whether the approved preparation uses a ferrule or another method.
Can I choose the ferrule by its insulation color?
Use the manufacturer’s part identification and dimensions. Color can be helpful within a defined product system, but it is not sufficient evidence of size, compatibility or an approved tooling combination.
Can a twin ferrule connect two wires to any screw terminal?
No. The terminal must permit the conductor count and prepared configuration. Confirm the wires, ferrule and connection method together rather than assuming physical fit establishes acceptance.
Does a ferrule replace wire strain relief?
No. Cable and bundle support remain separate design requirements. Door movement and service forces should not be transferred to the terminal through the conductor.
References and scope
HSE electrical maintenance safety そして HSE equipment maintenance guidance provide the safe-work context. NASA’s cable and harness workmanship standard page is an example of a controlled workmanship framework, not an approval of a particular industrial switch or ferrule. Apply the exact product instructions and the equipment’s accepted workmanship requirements.
Further learning
NASA introduces a tool concept for critical wiring. This illustrates that crimping is a controlled tooling process, not proof that a particular ferrule or terminal is approved for an ONPOW switch.
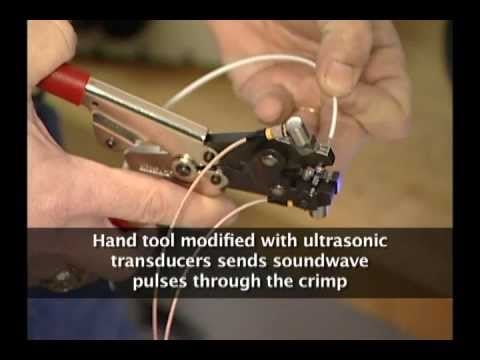
NASA | Crimp Tool for Safe and Efficient Critical Wiring Needs — NASA Langley's Technology Gateway



