

An electromechanical relay wiring diagram normally separates two paths: the coil circuit that moves the relay, and the contact circuit that switches the load. Start by finding the diagram printed on the exact relay or its datasheet, then identify the coil, common (COM), normally open (NO), and normally closed (NC) terminals. The labels and pin numbers are not universal. A drawing for a five-pin automotive relay, a plug-in control relay, and a safety relay can look similar while describing different devices.
The safe reading sequence is: identify the relay’s de-energized state, trace the coil supply and return, choose the required contact state, trace the load path, and verify the finished circuit with the equipment isolated. The example below explains generic contact logic only; it is not a pinout or installation diagram for every model. ONPOW’s ORJ2SL Relais-Produktseite und industrial relay range are starting points for model-specific documentation. For broader device selection, see the existing Leitfaden zur Auswahl elektromechanischer Relais.
Read the relay’s own diagram first
Before connecting any wire, locate the schematic for the exact part number and coil version. Depending on the product, it may be printed on the side of the housing, included on a plug-in relay’s case, or supplied as a separate datasheet. Photographing or recording that diagram with the work order helps prevent a later replacement relay from being wired by visual guesswork.
Look for two groups of symbols. A coil is usually shown separately from one or more contact sets. A dotted or mechanical link may show which contacts move together when the coil operates. In a simple monostable relay, the contact diagram is normally drawn with the coil de-energized. A latching relay, a polarity-sensitive DC coil, a suppression diode, or an electronic interface module can require different treatment, so read the notes beside the manufacturer’s symbol.
Do not start with a remembered pin number. Numbers such as 30, 85, 86, 87, and 87a are associated with certain automotive relay conventions, while industrial relays may use other terminal numbering. Some relay bases show numbers on the socket rather than the relay. Even two products with the same number of blades can arrange them differently. Use the terminal designations and drawing printed for the specific model.
Separate the coil path from the switched path
The coil path is the control side. It energizes the relay’s magnetic mechanism, but it is not automatically the same voltage or circuit as the switched load. The load path passes through the relay contacts and is normally drawn separately. Keeping the two paths visually distinct makes it easier to review which circuit is controlling the relay and which circuit is being switched.
In a generic control example, the coil path can be represented as a suitable control output and supply connected across the two coil terminals. The contact path can be represented as the load supply passing through a protective device, into COM, out through the selected NO or NC contact, and onward to the load return. That description is a way to read a schematic, not a universal wire-color or pin-number instruction. Actual grounding, isolation, protective bonding, fusing, and conductor sizing depend on the machine design and applicable electrical requirements.
Check the coil marking before applying power. Confirm AC or DC, rated voltage, polarity if specified, and whether a diode, LED, or other suppression component is built in. A suppression diode can make a DC coil polarity-sensitive. An external suppression component may change release time or the voltage seen by the driver. Follow the relay and controller documentation rather than assuming every coil behaves the same way.
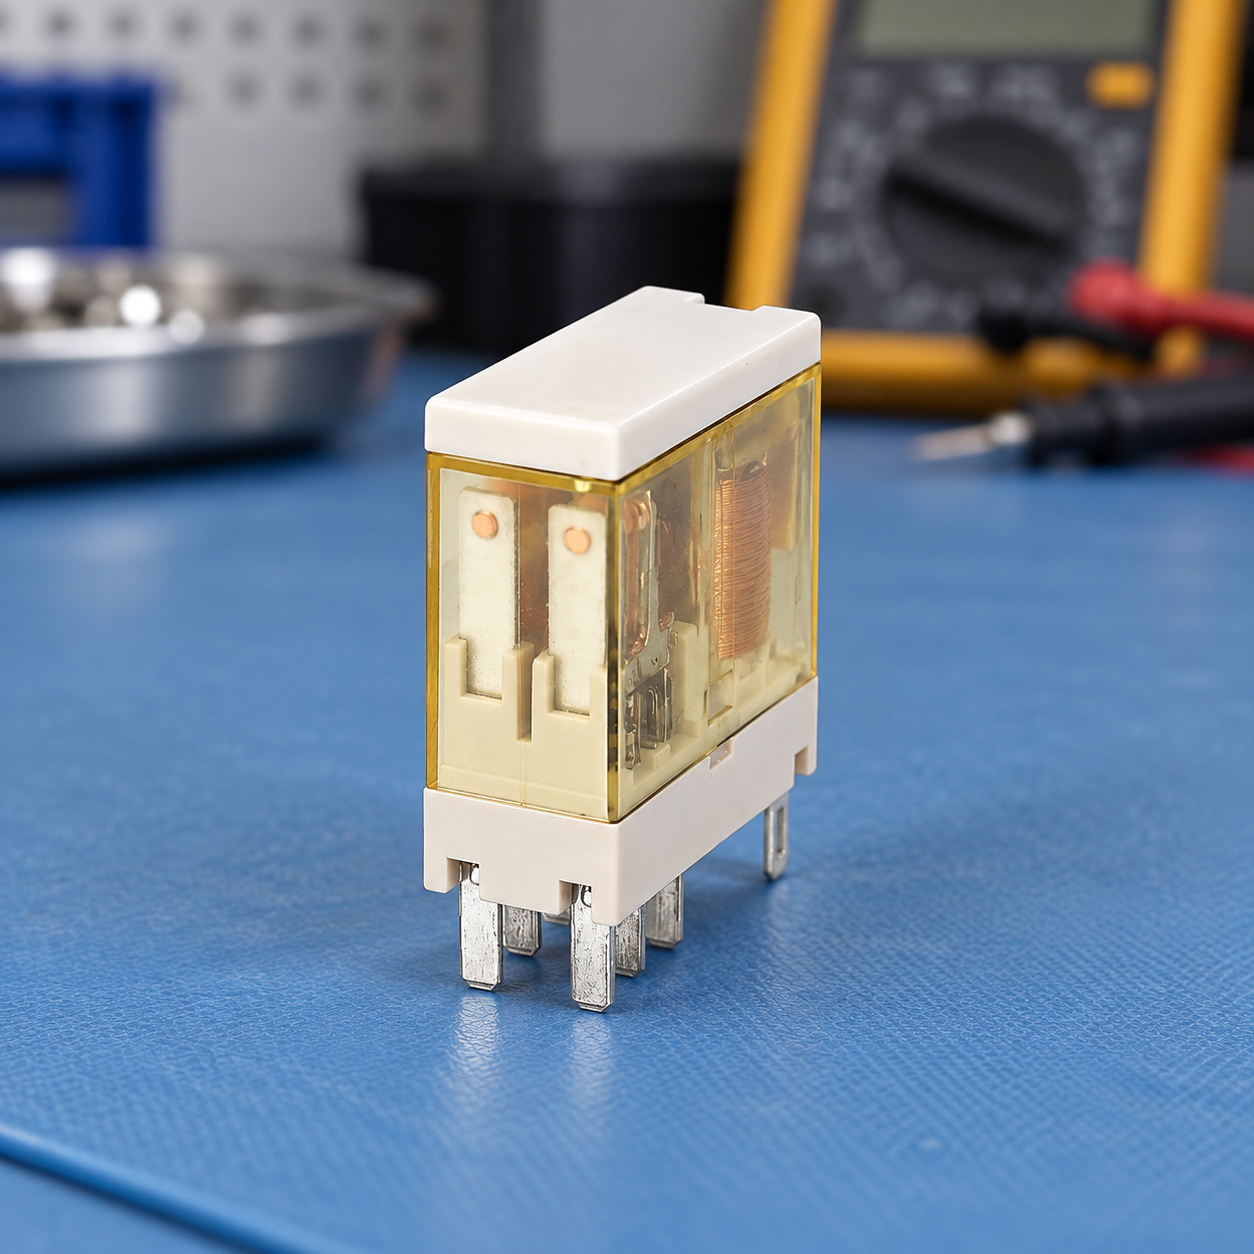
Understand COM, NO, and NC in the de-energized state
For a standard non-latching changeover relay, the NO and NC names describe the contact state while the coil is not energized. COM is the moving or common side of that contact set. With the coil released, COM is connected to NC; when the coil operates, COM transfers to NO. A relay that has only an NO contact or only an NC contact may not expose all three terminals.
Use this table to interpret common drawing labels; do not use it to infer physical pin positions:
| Diagram label | Typical state with coil de-energized | Typical state with coil energized | Was zu überprüfen ist |
|---|---|---|---|
| Coil terminals | No magnetic actuation | Coil is actuated when its specified supply is applied | Exact coil voltage, AC/DC type, polarity, and any suppression component |
| COM | Connected to the selected resting contact | Transfers to the alternate contact on a basic changeover relay | The common terminal for the exact contact set shown in the datasheet |
| NC | Closed to COM in the normal, de-energized state | Opens from COM when the relay operates | Whether “normal” in the drawing means coil de-energized, and whether the relay is latching |
| NO | Open from COM in the normal, de-energized state | Closes to COM when the relay operates | Contact rating for the actual load and switching duty |
The words “normally open” and “normally closed” do not mean that the terminal is inherently safer or more reliable. They describe a contact’s state in the defined normal condition. For a comparison of these contact conventions, read the NO versus NC switch guide.
Trace a generic load circuit one node at a time
Once the contact set is identified, follow one continuous path on the diagram. For a load that should be off while the relay is released and on when the coil operates, the logical path is usually source → circuit protection → COM → NO → load → return. If the load should be on in the relay’s released state, a designer may use COM and NC instead. This does not make a circuit fail-safe by itself: a welded contact, broken wire, lost supply, or failed controller can produce other outcomes.
In a working drawing, show the control supply, coil, contact set, load supply, protection, and return in a way that makes their circuit boundaries clear. Where the control circuit and load circuit have different supplies, don’t connect their returns together unless the system design explicitly requires it. A relay contact may provide separation, but the complete panel still has grounding, insulation, overcurrent, and segregation requirements.
If the relay switches a motor, heater, lamp bank, solenoid, or other demanding load, check the rating for that load category and its inrush or inductive behavior. A contact’s headline current is not sufficient evidence that it can switch every load at that current. For motor power or other high-energy circuits, the correct device may be a contactor or a purpose-designed switching assembly, not a small interface relay. Have a qualified controls or electrical professional verify the design before energizing it.
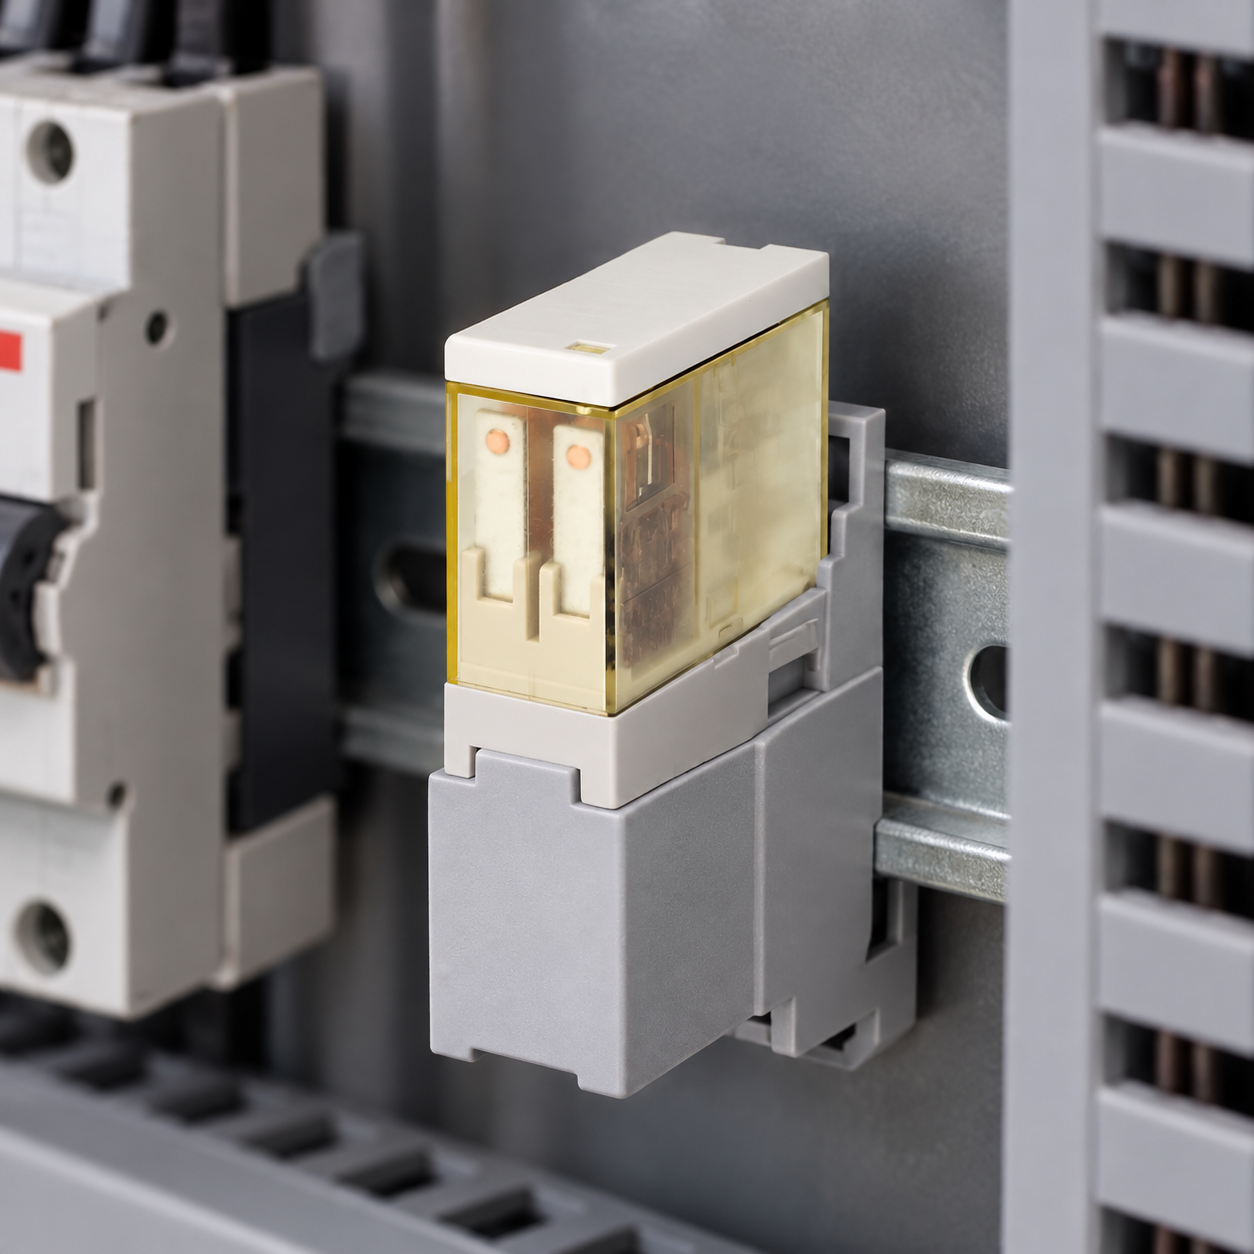
Verify terminals before connecting the load
cURL Too many subrequests by single Worker invocation. To configure this limit, refer to https://developers.cloudflare.com/workers/wrangler/configuration/#limits.
cURL Too many subrequests by single Worker invocation. To configure this limit, refer to https://developers.cloudflare.com/workers/wrangler/configuration/#limits.
cURL Too many subrequests by single Worker invocation. To configure this limit, refer to https://developers.cloudflare.com/workers/wrangler/configuration/#limits Leitfaden zur Relaisauswahl cURL Too many subrequests by single Worker invocation. To configure this limit, refer to https://developers.cloudflare.com/workers/wrangler/configuration/#limits cURL Too many subrequests by single Worker invocation. To configure this limit, refer to https://developers.cloudflare.com/workers/wrangler/configuration/#limits cURL Too many subrequests by single Worker invocation. To configure this limit, refer to https://developers.cloudflare.com/workers/wrangler/configuration/#limits.
Common relay wiring diagram mistakes
cURL Too many subrequests by single Worker invocation. To configure this limit, refer to https://developers.cloudflare.com/workers/wrangler/configuration/#limits. cURL Too many subrequests by single Worker invocation. To configure this limit, refer to https://developers.cloudflare.com/workers/wrangler/configuration/#limits.
cURL Too many subrequests by single Worker invocation. To configure this limit, refer to https://developers.cloudflare.com/workers/wrangler/configuration/#limits. The labels describe the normal state shown by the diagram, generally with a standard non-latching relay coil de-energized. Check the manufacturer’s convention and the relay type.
Treating the coil and contacts as one circuit. A relay can control a separate circuit, but the drawing must preserve the intended electrical separation. Do not bridge supplies or returns just to make a test work.
Assuming the coil has no polarity. A bare coil may behave differently from one with an internal diode, LED, or protection module. Follow the symbol and coil data.
Assuming a contact rating covers every load. Switching motors, lamps, and inductive loads can stress contacts differently from a resistive test load. Use the manufacturer’s load ratings and project requirements.
Using an online diagram as an installation authorization. A generic drawing cannot account for the machine’s protective devices, isolation, wiring method, jurisdiction, or safety function. Use it to understand symbol relationships, then follow the approved project drawing and applicable standards.
Lehrvideo
This independent tutorial demonstrates a basic relay with normally open and normally closed contacts. It is useful for visualizing the contact change, but its example device and wiring are not an ONPOW model pinout. The exact relay datasheet and approved machine schematic remain authoritative.

Watch the relay contact-state lesson.
Allgemeine Fragen
Was bedeutet COM bei einem elektromechanischen Relais?
COM is the common side of a contact set. In a basic changeover relay it connects to NC while the coil is de-energized and transfers to NO when the coil operates. Confirm this against the exact relay diagram.
Ist NO offen, wenn die Relaisspule ausgeschaltet ist?
Bei einem standardmäßigen Nicht-Impuls-Relais ist NO im de-energisierten Zustand normalerweise offen. Ein Impuls-Relais kann seine letzte gesetzte/Zurücksetz-Position beibehalten, während die Spule stromlos ist. Lesen Sie daher die Herstellerzeichnung und den Relais-Typ genau durch.
Kann ich jedes Relais mit derselben Anzahl an Pins verwenden?
Nein. Die Pinanzahl bestätigt nicht die Spulenspannung, Kontaktanordnung, Terminalpositionen, Unterdrückung oder Lastbewertung. Stimmen Sie das genaue Modell und das Datenblatt ab.
Does the relay coil use the same supply as the load?
Nicht unbedingt. Die Spule und der geschaltete Kontaktkreis können separate Versorgungen haben. Halten Sie sie im Diagramm getrennt und folgen Sie dem Isolations- und Erdungskonzept der Ausrüstung.
Can I use an NO or NC contact for a safety function?
Entscheiden Sie das nicht nur anhand des Labels. Sicherheitsfunktionen erfordern eine geeignete Sicherheitsarchitektur, Komponentenwahl, Fehleranalyse und Validierung gegen die geltenden Anforderungen der Maschine. Ein Schaltbild für allgemeine Zwecke ist kein Sicherheitsdesign.
Referenzen
- OMRON: NO, NC, and COM terminal definitions
- OMRON: General-purpose relay operation and contact states
- IEC 60204-1 — Sicherheit von Maschinen, elektrische Ausrüstung von Maschinen



