

To test an electromechanical relay, start with its own diagram and the machine’s electrical safety procedure. A basic bench check can compare the coil resistance with the exact model’s published data and confirm whether normally open (NO) and normally closed (NC) contacts change state as expected. Those checks can find an open coil or a contact that does not change, but they do not prove that a relay can safely switch its rated load or meet a machine’s safety function. Isolate the relay before using a meter’s resistance or continuity mode. Do not rely on a push button or PLC command as the only means of de-energizing equipment. If testing requires energized work, it must be done by a qualified person using site-approved procedures and correctly rated test equipment.
First identify the relay and the test boundary
The phrase “test a relay” can refer to very different work. This guide covers a basic inspection of a removable, electromechanical control relay away from its operating circuit. It does not cover protective-relay injection testing, safety-relay validation, high-voltage insulation testing, load-life qualification, or commissioning of a complete machine.
Before removing a relay, record the equipment state and the exact relay model. Photograph or document its wiring, socket position, coil voltage, contact diagram, and any suppression component. A relay with a DC coil and built-in diode, a latching relay, a relay with an indicator module, or a special interface may require a different test. Contact numbers and coil terminals vary between product families, so never identify pins only by appearance or by a diagram from another relay.
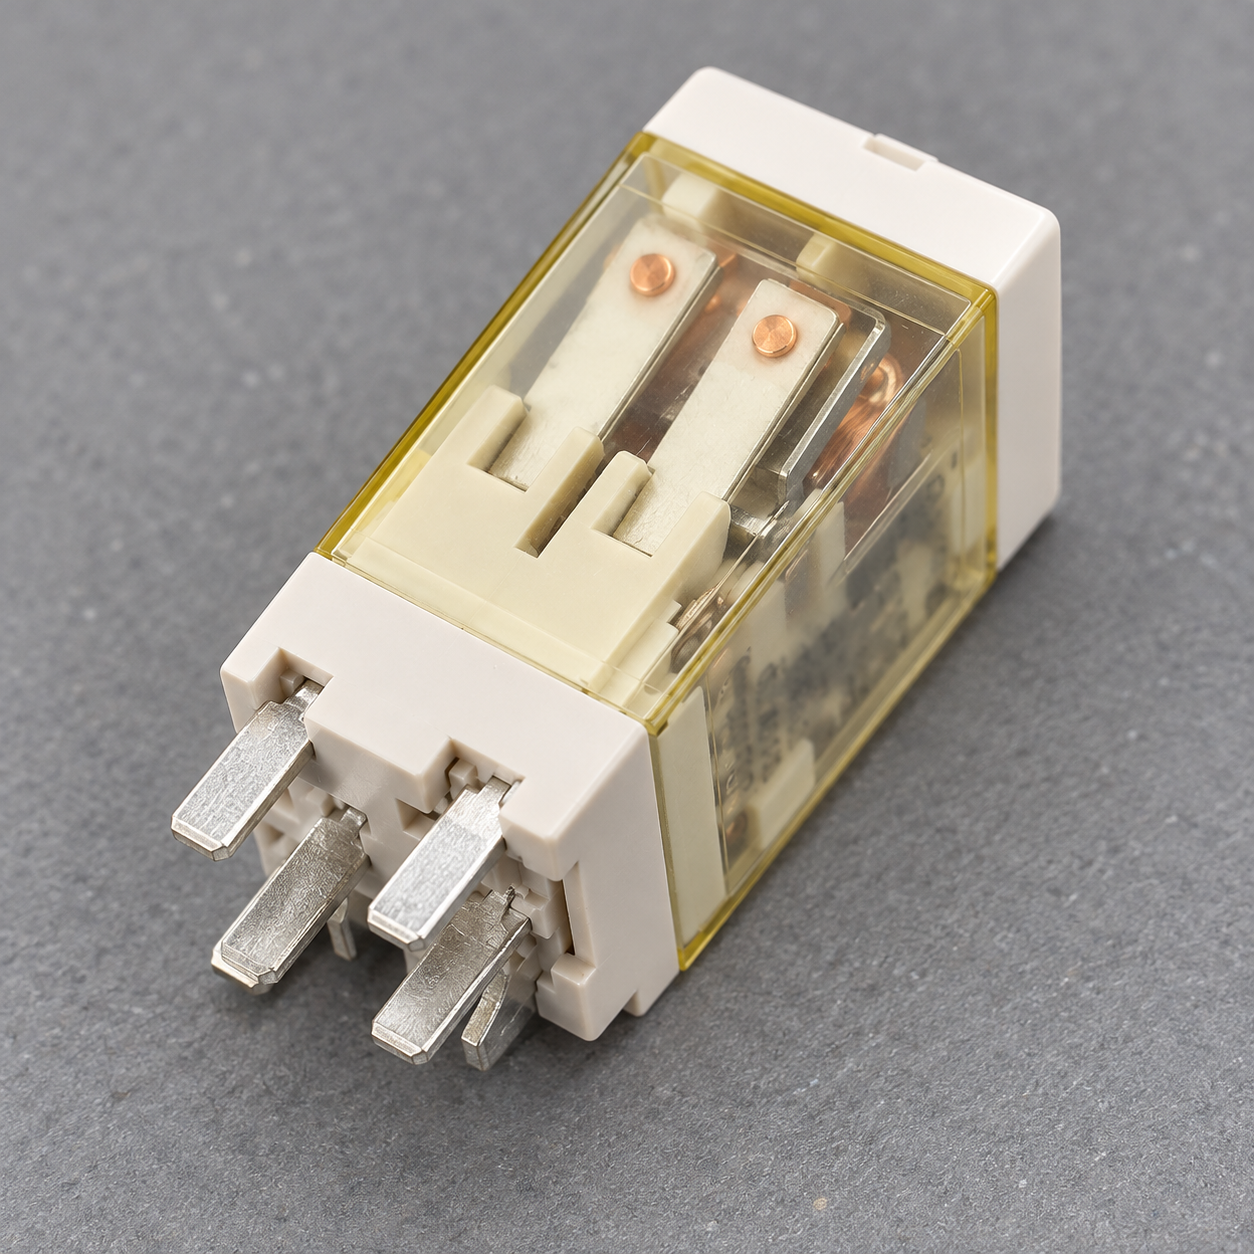
ONPOW의 ORJ2SL electromechanical relay is one model example. Its product page gives model-specific ratings and diagrams. Those specifications are not universal thresholds for all electromechanical relays, even when another device has a similar package or pin count.
De-energize the equipment before resistance checks
Do not measure resistance or continuity on a live circuit. For fixed equipment, follow the site’s lockout/tagout and electrical safety procedures. OSHA 29 CFR 1910.333 requires exposed live parts to be de-energized before work unless a defined exception applies, and requires qualified people and suitable safeguards for energized work. Its verification rule calls for appropriate test equipment to verify the actual circuit parts are de-energized. A control push button, selector, PLC command, or interlock by itself is not an energy-isolating device.
This article is not a lockout/tagout procedure and does not authorize energized testing. Identify all energy sources, isolate them, address stored energy, and verify the zero-energy condition under the responsible site procedure. If the relay is part of a safety function, a basic bench test does not validate the safety function or permit the equipment to return to service.
Step 1: inspect the relay and its socket
With the relay removed and the equipment made safe, check for a cracked housing, heat discoloration, damaged pins, loose socket contacts, contamination, corrosion, or an odor suggesting overheating. If the relay is sealed, do not open it to inspect internal contacts. A visible mark may indicate damage, but a clean appearance does not prove the relay is electrically sound.
Check that the socket and terminal labels match the relay’s own diagram. A similar-looking relay can have a different coil voltage, contact arrangement, pinout, or built-in diode. If the relay’s model number or diagram is unreadable, stop and obtain the manufacturer’s documentation before applying power.
Step 2: compare coil resistance with the exact datasheet
Use a meter on resistance only after the relay is removed from any energized circuit and isolated from parallel paths. Identify the two coil terminals from the model diagram, then measure across them. Compare the reading with the exact model’s published coil resistance and stated tolerance at its specified conditions. Do not use one “normal” resistance range for every relay: coil voltage, AC or DC design, temperature, and construction affect the expected value.
An open-circuit reading may indicate a broken coil path. A reading near zero may indicate a short, but first check that the selected terminals are actually the coil and that the meter is connected correctly. A reading within the datasheet range is only a preliminary check. It does not prove that the relay will pull in reliably, release correctly, or switch a real load.
If the relay contains a diode or another electronic component across the coil, the measured result may depend on probe polarity and meter design. Use the product’s documentation. Do not reverse-energize a polarized coil to “see if it works.”
Step 3: check the unpowered contact states
Read the relay diagram to identify common (COM), normally open (NO), and normally closed (NC) terminals. “Normally” refers to the manufacturer-defined normal state for that relay; for a standard non-latching relay, that is commonly the de-energized coil state. A latching relay may retain its last position without coil power, so its current state must be interpreted according to the manufacturer’s instructions.
With the relay unpowered and isolated, measure only the contact pairs specified by the diagram. An expected-closed contact should show continuity within the limits of the test and meter. An expected-open contact should not show continuity. Compare the result to the relay’s diagram and specified contact conditions. Do not infer a pass from a continuity buzzer alone; the meter’s buzzer threshold is not a load-capacity test.
| 점검 항목 | Basic observation | What it can suggest | What it cannot prove |
|---|---|---|---|
| Coil resistance | Matches, open, near-zero, or differs from the model specification | Open coil, possible short, wrong terminals, or a reading affected by temperature/components | Pull-in reliability, release behavior, insulation condition, or remaining life |
| NO contact at rest | Open or unexpectedly conductive | Possible welded/stuck contact, a latching state, wrong terminals, or an incorrect diagram interpretation | Ability to interrupt the intended load |
| NC contact at rest | Closed or unexpectedly open | Possible contact damage, wrong terminals, or a different relay/contact form | Contact resistance under rated load or long-term reliability |
| Change of state on a permitted isolated bench test | Contacts change or fail to change when the rated coil is applied | cURL Too many subrequests by single Worker invocation. To configure this limit, refer to https://developers.cloudflare.com/workers/wrangler/configuration/#limits | cURL Too many subrequests by single Worker invocation. To configure this limit, refer to https://developers.cloudflare.com/workers/wrangler/configuration/#limits |
Step 4: energize only on a controlled bench when permitted
cURL Too many subrequests by single Worker invocation. To configure this limit, refer to https://developers.cloudflare.com/workers/wrangler/configuration/#limits.
cURL Too many subrequests by single Worker invocation. To configure this limit, refer to https://developers.cloudflare.com/workers/wrangler/configuration/#limits.
What a multimeter check cannot certify
cURL Too many subrequests by single Worker invocation. To configure this limit, refer to https://developers.cloudflare.com/workers/wrangler/configuration/#limits.
cURL Too many subrequests by single Worker invocation. To configure this limit, refer to https://developers.cloudflare.com/workers/wrangler/configuration/#limits.
A careful replacement and return-to-service check
cURL Too many subrequests by single Worker invocation. To configure this limit, refer to https://developers.cloudflare.com/workers/wrangler/configuration/#limits.
cURL Too many subrequests by single Worker invocation. To configure this limit, refer to https://developers.cloudflare.com/workers/wrangler/configuration/#limits.
For the relay’s terminal functions, see ONPOW’s 전기기계 릴레이 배선도 가이드. 이 릴레이 선택 가이드 explains how coil, contact, and load requirements affect the specified part. For general contact terminology, review ONPOW’s article on normally open and normally closed switches.
The following video demonstrates a generic multimeter check on an electromechanical relay. The demonstrated pin numbers and examples are not an ONPOW ORJ2SL pinout or an authorization for live work; always use the exact model diagram and site safety process.
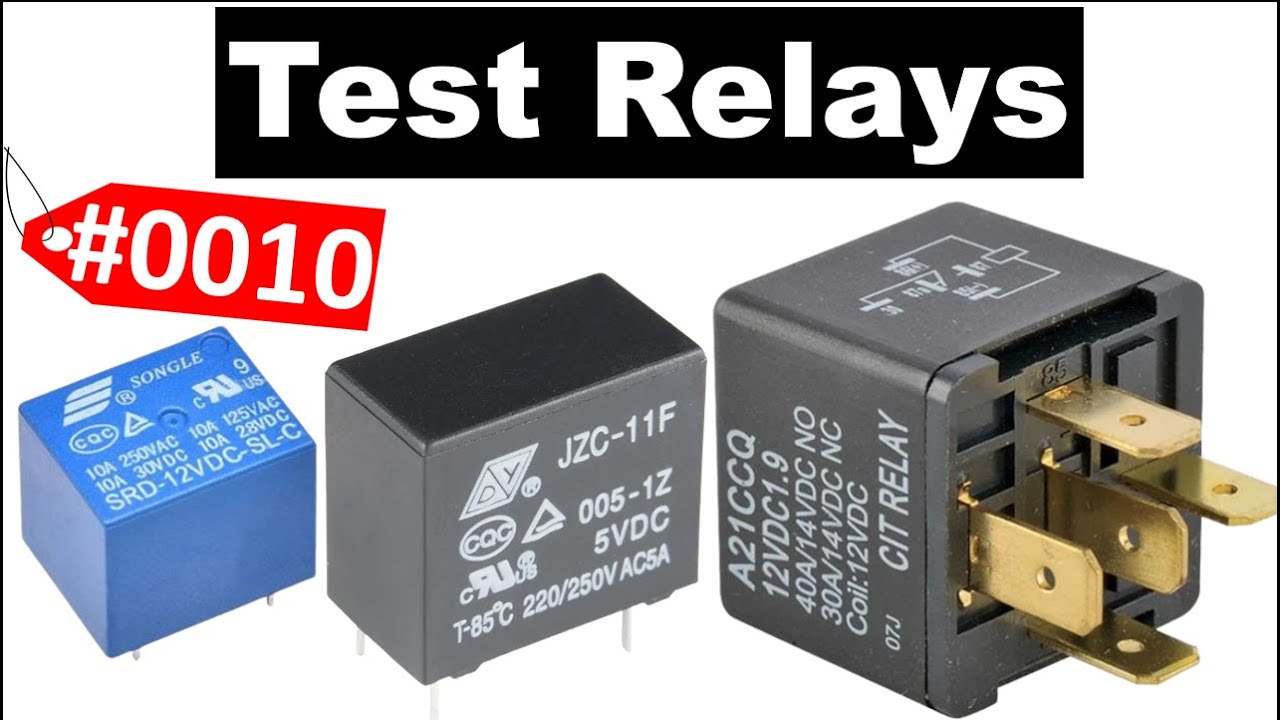
Open the general relay multimeter demonstration on YouTube
자주 묻는 질문
Can I test a relay while it is still wired into the control panel?
전원이 공급되고 있는 장비에서는 저항이나 도통을 측정하지 마십시오. 신뢰할 수 있는 분리 상태 점검을 위해 현장의 잠금 및 표지(LOTO) 절차를 따르고, 지침에 따라 릴레이를 제거하거나 전기적으로 격리하십시오. 노출된 부품을 취급하기 전에 자격을 갖춘 담당자가 적절한 테스트 장비를 사용하여 전원이 차단되었는지 확인해야 합니다.
전기기계식 릴레이 코일의 저항값은 얼마여야 하나요?
보편적으로 적용되는 저항값은 없습니다. 코일 전압, AC 또는 DC 유형, 온도 조건 및 허용 오차를 포함하여 해당 릴레이 모델의 정확한 기술 문서를 참조하세요. 모델이나 단자 배선도가 확인되지 않은 경우, 임의로 추정한 합격/불합격 기준 범위를 적용하지 마세요.
Does a continuity beep prove a relay contact is good?
No. A continuity beep only indicates that the meter detects a path under its test conditions. It does not establish acceptable contact resistance under the real load, switching performance, endurance, or safety-related performance.
Can I apply a different voltage to hear whether the relay clicks?
No. Use only the coil voltage and polarity permitted by the exact model documentation, and only in a controlled, isolated test setup handled by a qualified person. The contact rating is not the coil rating.
Does a basic test prove that a relay is suitable for a safety function?
No. A bench check cannot validate a complete safety function or replace its required design, fault analysis, testing, and maintenance. Follow the machine’s risk assessment, applicable standards, and documented validation procedure.



