

A 1/2 inch push button switch should be selected from its mounting drawing, not from the nominal size alone. One half inch equals 12.7 mm, yet that conversion does not identify the required cutout, thread, shank length, tolerance, or rear clearance. Confirm those mechanical fields before releasing a panel drawing or ordering a replacement operator.
Part 1. Read the half-inch label as a drawing question
A half-inch label can appear beside a mounting hole, a threaded body, a nominal family, or a dimensional reference in a component listing. Those descriptions are easy to confuse because they all concern the same small panel-mounted assembly. They do not give the fabricator the same instruction.
Start by locating the dimension in a sectional drawing. A true mounting-hole callout normally identifies the opening and its tolerance, while a thread callout identifies the fastening interface. The outer head or bezel usually needs a separate clearance check against adjacent buttons, labels, and panel edges.
| What the listing could mean | Drawing field to locate | Decision affected |
|---|---|---|
| Panel opening | Nominal hole and tolerance | Punch or drill size |
| Threaded body | Thread designation and usable thread length | Nut and panel-thickness fit |
| Head or bezel | Outside diameter and front clearance | Operator spacing and legend area |
| General family name | Dimensioned front and side views | Whether a product can enter review |
The label becomes useful only after the drawing shows which feature it describes. If the requirement began as a legacy spare-part note, record whether “1/2 inch” came from the old hole, the old thread, or a supplier description. That avoids replacing an old part with a visually similar operator that cannot be mounted.
Part 2. Convert 1/2 in without choosing a hole by arithmetic
Half an inch converts to 12.7 mm. That figure helps a global team reconcile an imperial drawing with a metric bill of materials, but it does not specify a production cutout. A nearby 12 mm, 12.5 mm, or 13 mm product family is not automatically a mechanical substitute.
Important: A unit conversion cannot supply a mounting tolerance or a thread specification. The BIPM SI base-units reference gives the international SI length context; the chosen manufacturer drawing remains the source for the final panel opening.
Rounding can create two different risks. An opening that is too small prevents assembly or damages the finish during installation. An opening that is too large can reduce retention, compromise a gasket arrangement, or leave an unacceptable visible gap around the operator.
| Dimension statement | What it tells the buyer | What still needs confirmation |
|---|---|---|
| 1/2 in | The nominal imperial expression | Which product feature uses that dimension |
| 12.7 mm | The exact length conversion | Hole tolerance and tooling process |
| “12 mm mounting” | A stated product family | Compatibility with the legacy opening |
| Thread callout | A fastening-interface designation | Bezel clearance and rear terminal space |
For a smaller metric panel concept, the 8 mm push button switch selection guide covers a separate compact family. It should not be used to justify an unverified conversion from a half-inch mounting requirement.
Part 3. Separate cutout, shank, thread, and bezel dimensions
The cutout is the panel opening. The shank is the body portion that passes through it. A thread describes how a nut or other fastening part engages that body, while a bezel is the visible front feature that can be wider than the opening.
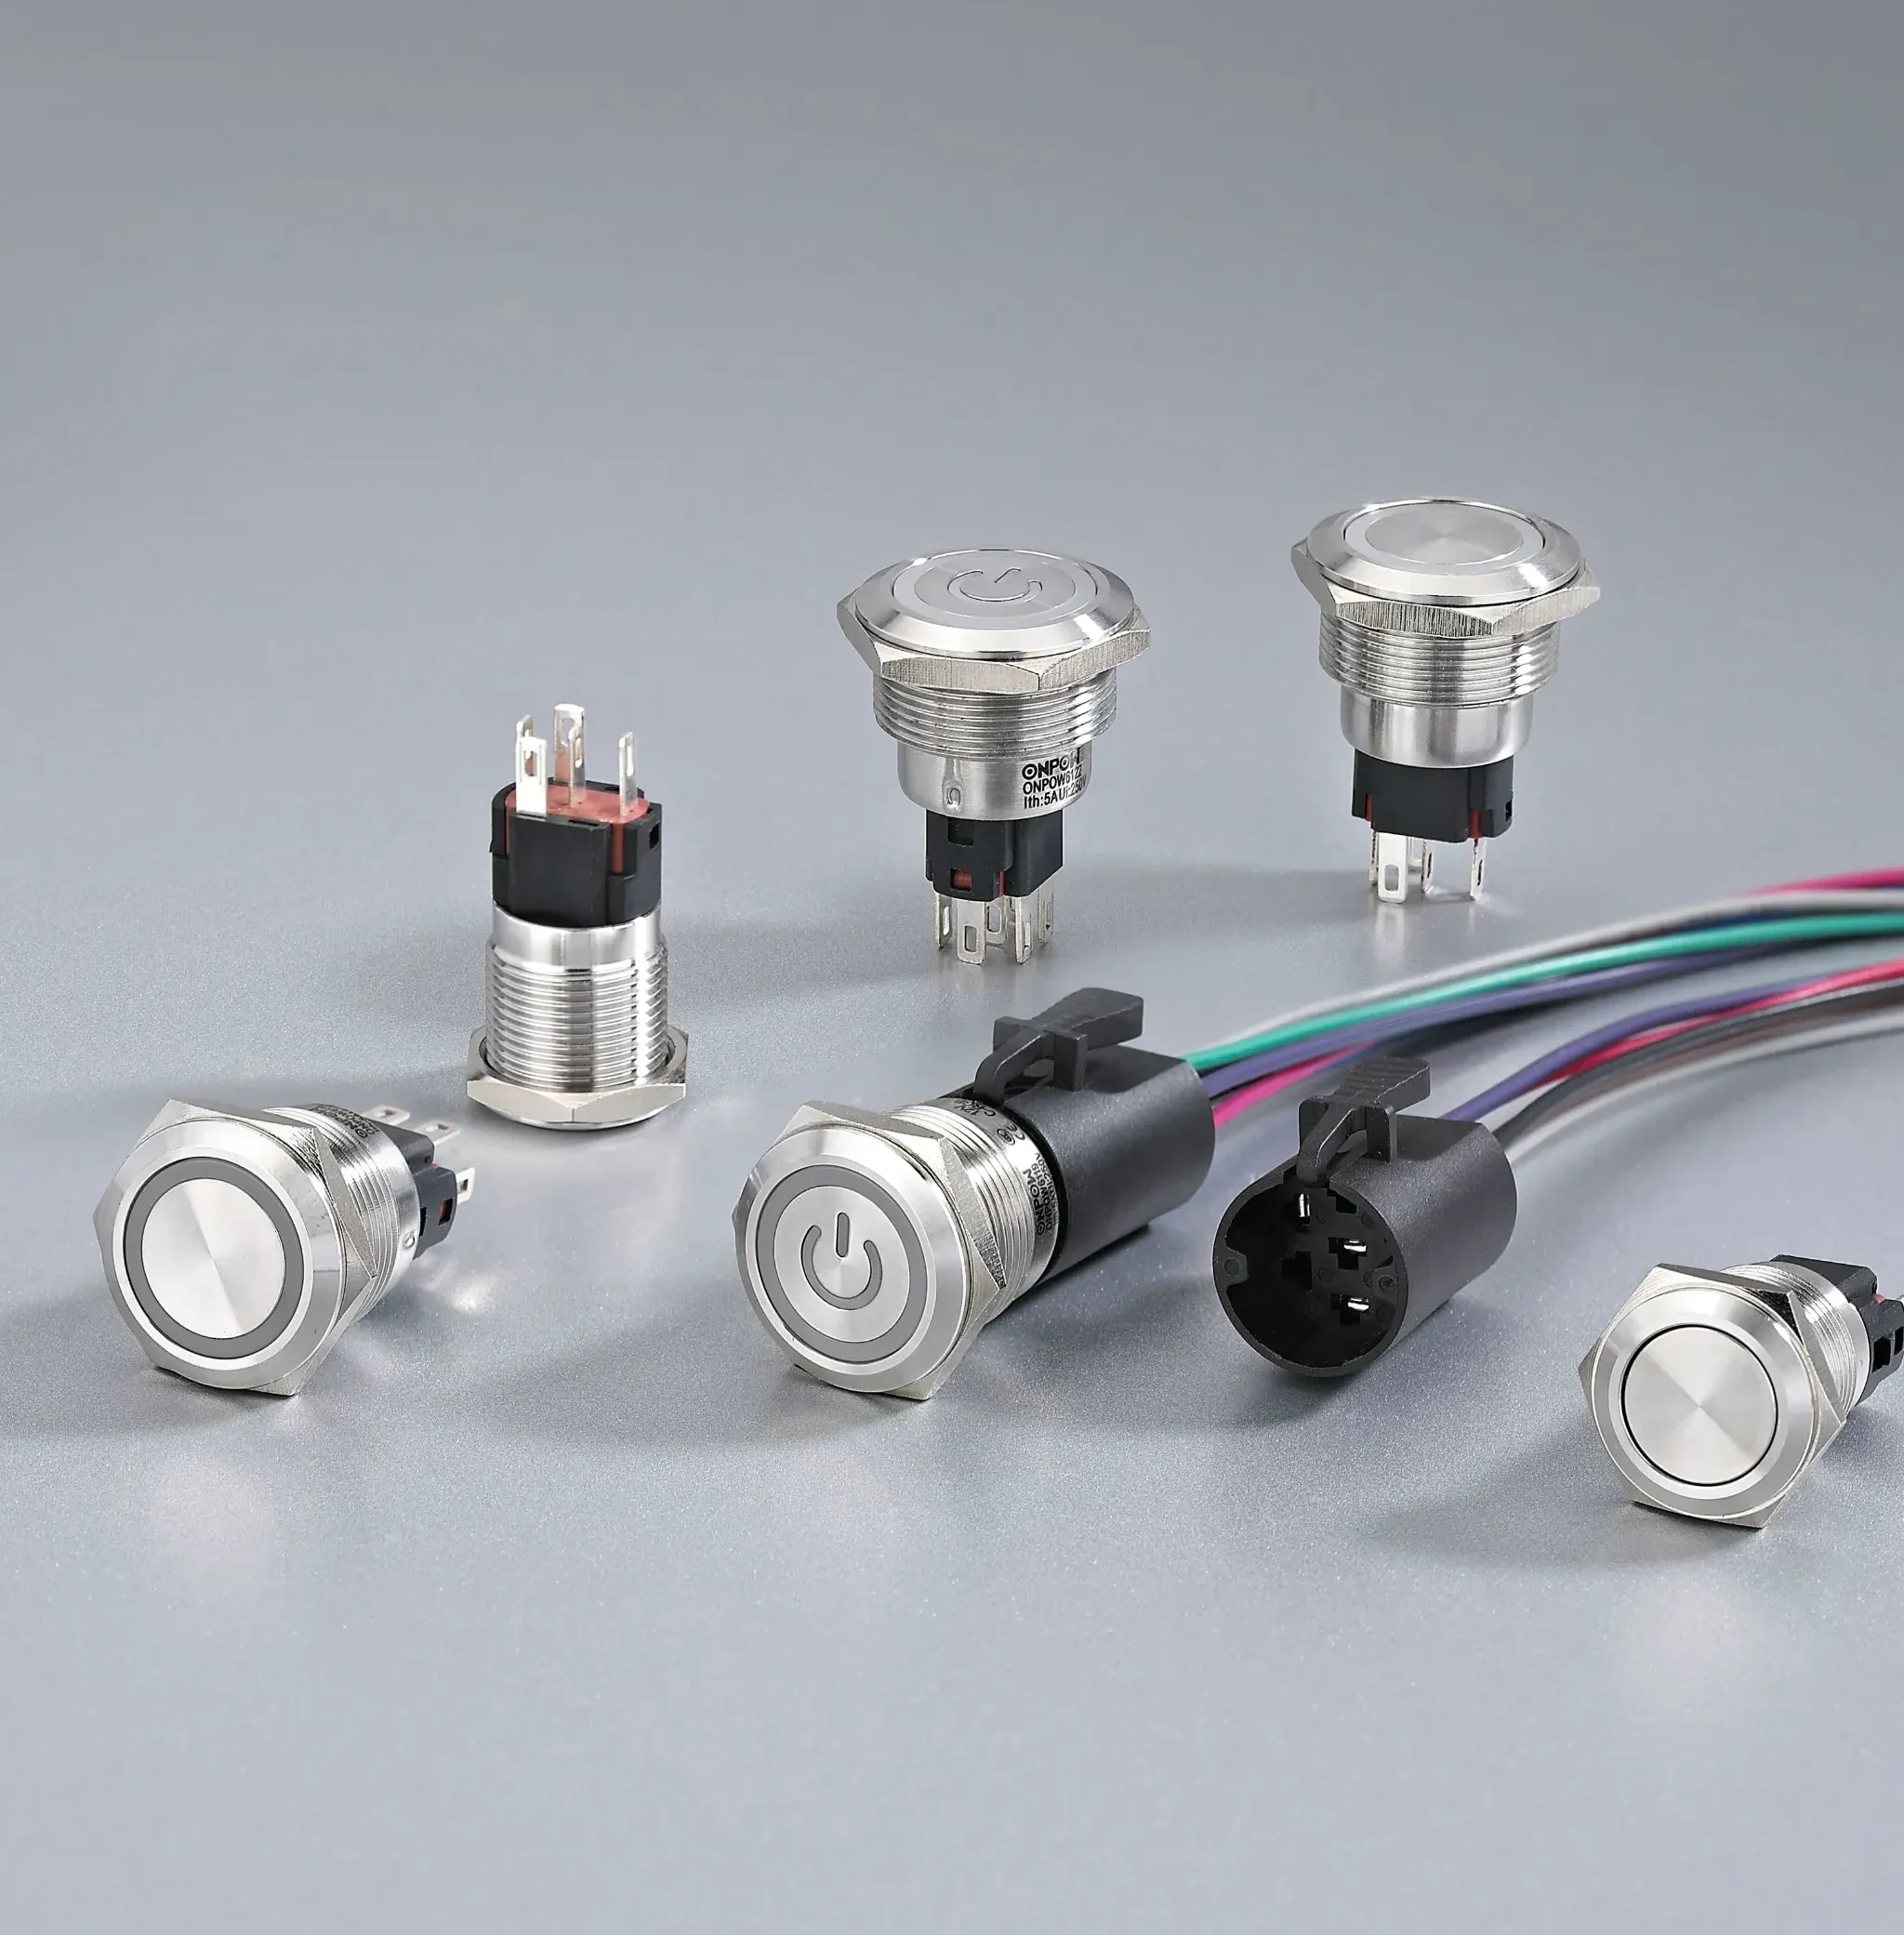
Read every dimension alongside its leader line and view direction. Rockwell Automation’s explanation of what a named pushbutton diameter represents is useful context: a diameter label requires an explicit reference point. It does not replace an outline drawing for the selected part.
The drawing should also show any locating tab, keyway, sealing washer, or anti-rotation feature. These details can make a round-looking operator unsuitable for a plain round hole. Ask whether paint, powder coating, labels, films, or a front gasket are included in the stated panel-thickness range.
Part 4. Review panel thickness, layout, and rear space together
If a panel has enough front-face room, the fit can still fail behind the door. Contact blocks, connectors, wire bend radius, strain relief, support brackets, and door-close clearance all consume space. Review them in the same drawing session as the hole and bezel.
Forum discussions frequently frame this as a practical depth problem: a control may be separated from the panel by a PCB or wiring structure behind it. That language is helpful because it keeps the review focused on a real assembly envelope rather than on head diameter alone.
| Panel review element | Question to answer | Procurement effect |
|---|---|---|
| Thickness and finish | Is the usable shank length sufficient after coating? | Confirms fastening stack |
| Front spacing | Does the bezel clear labels and nearby heads? | Protects readability and access |
| Rear section view | Do terminals and wires clear brackets and the closed door? | Prevents late interference |
| Operating access | Can the installer tighten and remove the retaining hardware? | Affects assembly and service |
| Electrical function | Which contact arrangement and action are required? | Prevents a mechanical-only selection |
The 19 mm push button guide illustrates how a documented diameter family must still be evaluated with the panel and intended operator use. Keep the half-inch requirement separate until its own drawing has been confirmed.
Part 5. Send the mounting fields that prevent fit rework
Rather than sending a nominal diameter in an email subject line, provide the panel information as a controlled set. Send the revision-controlled drawing and identify the exact feature that the half-inch term describes. Include the operating function so mechanical and contact choices can be checked together.
| Drawing input for a quote | Why it matters | Common mistake avoided |
|---|---|---|
| Cutout size and tolerance | Defines the panel interface | Selecting from an approximate conversion |
| Panel material, thickness, and finish | Tests shank and washer stack | Ignoring paint or a front label |
| Front layout and centre spacing | Tests bezel and legend clearance | Crowding adjacent controls |
| Rear section and wiring envelope | Tests terminals and service access | Discovering collisions after build |
| Required operation and contact need | Connects the operator to the control function | Ordering by appearance only |
| Quantity and destination | Frames quotation and documentation review | Leaving commercial inputs unresolved |
IEC 60947-5-1 provides a general standard context for low-voltage control-circuit devices. It does not set the individual product’s mounting opening, so the dimensional drawing and the selected configuration must remain part of the purchase record.
For an RFQ, attach the six listed inputs to the released drawing. That gives the supplier the cutout, mounting stack, clearance, and function details needed for an accurate configuration review.
Part 6. Use ONPOW metal push buttons after the drawing is confirmed
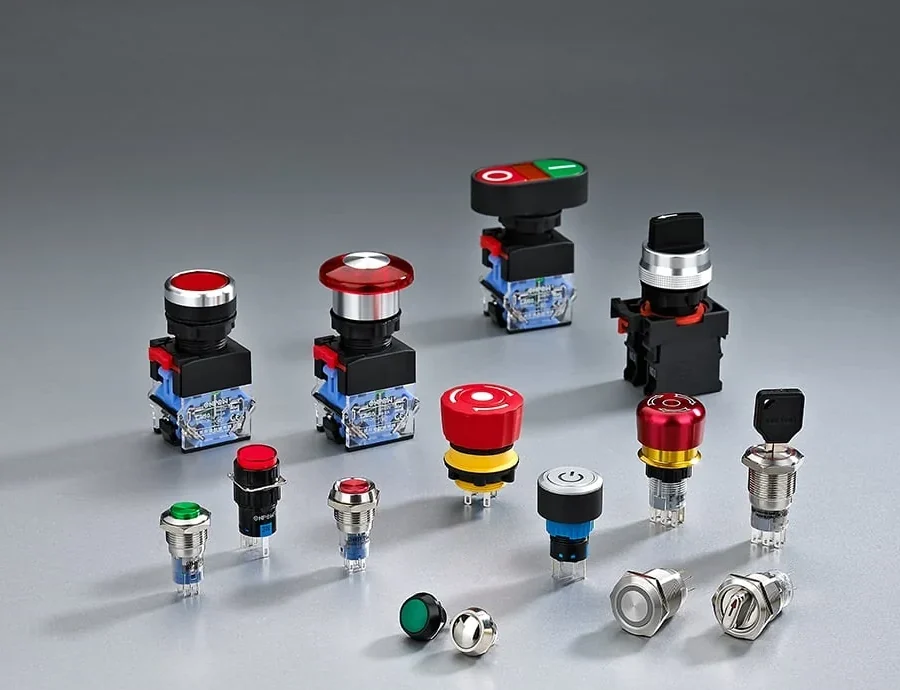
Once the mounting information is complete, the ONPOW metal push button switch category provides a suitable product-family starting point for a drawing-based enquiry. Do not read the category as a promise that any item is a verified half-inch fit. Ask ONPOW to confirm the selected SKU’s mounting drawing, operating action, contacts, terminal form, illumination requirement, and relevant documentation.
Send the released panel drawing, intended function, quantity, destination, and target delivery requirement to the ONPOW sales team. State whether the half-inch expression applies to an existing panel opening or to a legacy component description. This gives the review a clear mechanical starting point without making an unsupported fit claim.
For other documented panel-selection topics, visit the ONPOW Blog. Keep the approved drawing revision with the bill of materials so a replacement or enclosure revision can be checked against the same interface.
Frequently Asked Questions
Is a 1/2 inch push button switch always a 12 mm model?
No. One half inch equals 12.7 mm, while a listing may use its size label for a mounting hole, a thread, a body feature, or a product family. Use the selected drawing to identify the relevant dimension.
What hole should I make for a half-inch push button?
Make only the opening stated by the selected manufacturer’s mounting drawing, including tolerance. Do not choose a punch or drill from the 12.7 mm conversion alone.
Does 1/2 inch describe the cutout or the threaded body?
It can describe either one in product listings. Read the dimensional callout and section view to see whether the number is attached to the panel opening, thread, shank, or head.
What panel-thickness information is needed?
Provide the base material, thickness range, paint or coating, labels, gaskets, and any front overlay. These items change the fastening stack and usable shank length.
Do bezel diameter and cutout diameter need separate checks?
Yes. The bezel affects front clearance, spacing, and label visibility, while the cutout controls the mounting interface. A fit review should include both dimensions.
Can ONPOW provide a half-inch push button switch?
Use the ONPOW metal push-button category to begin a drawing-based enquiry. The supplier should confirm the selected SKU’s mounting dimensions and configuration rather than relying on the half-inch label alone.



